Want to personalize your front entryway with your own unique saying? This DIY Cute Shoes Doormat is so fun to make! I will show you all the steps you need to create your own stenciled doormat.

Cute Shoes Doormat
I have wanted to recreate my Cute Shoes doormat for a while now. See, it’s discontinued and I always get so many people asking me where they can buy it! Now, I can’t wait to show you how you can make your own custom stenciled doormat.

My sister, Jen Tatertots & Jello was visiting this past weekend. Whenever we are together it seems we always end up doing some sort of crafty project. This time was no exception! We decided to make some custom stenciled doormats.
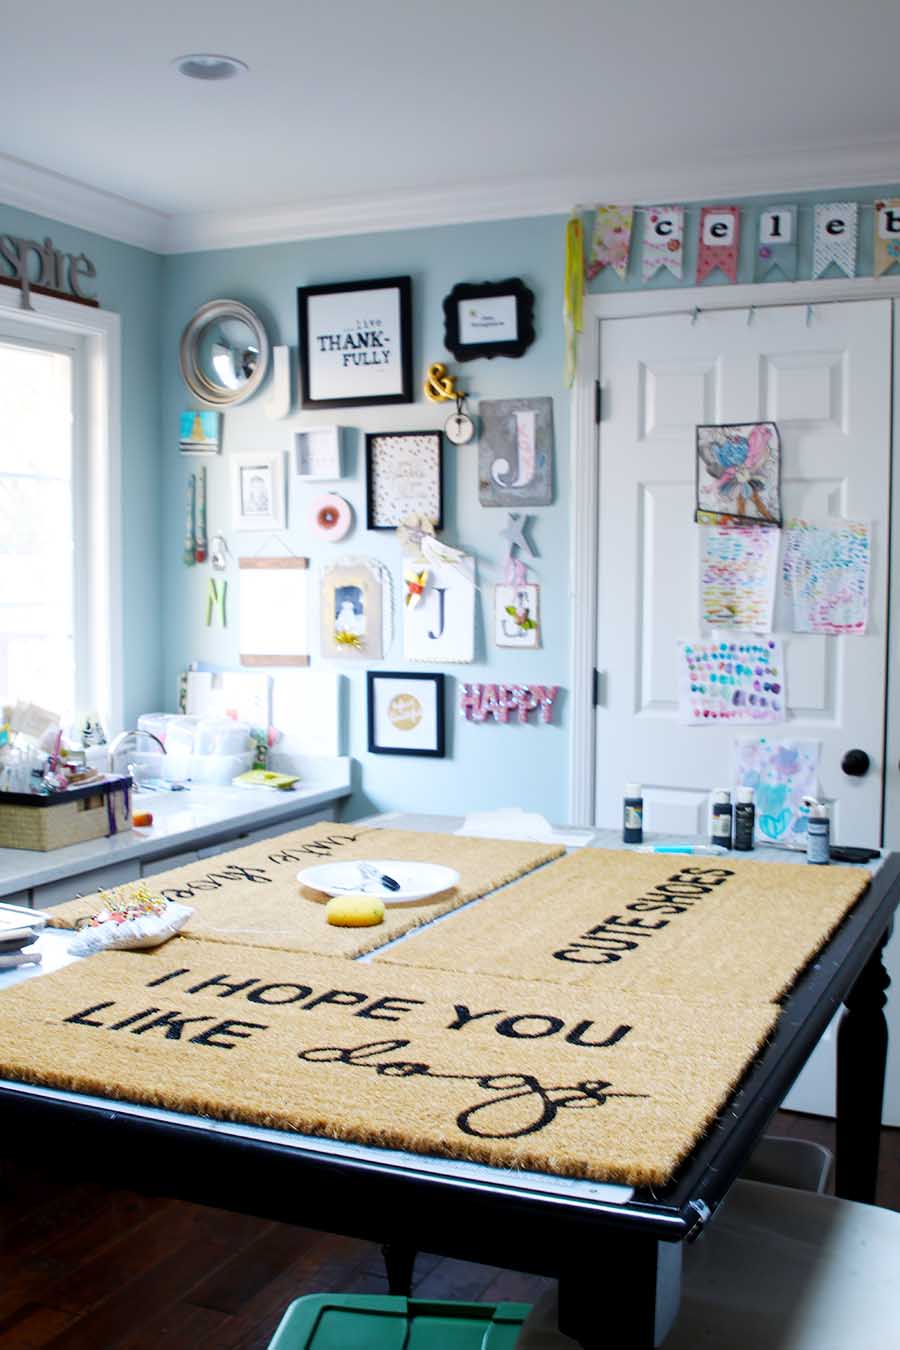
Jen made a super cute I Hope You Like Dogs stenciled doormat. My mom made a fun scripty version of my Cute Shoes mat inspired by Your Marketing BFF. And I made a more modern, bold version for my front porch! Read on for details.
Spring DIY Projects
I am excited to be joining Krista, The Happy Housie in a fun Spring DIY blog hop today. Be sure to check out all the other fun projects!

And today I’m joined by a fabulous group of blogging friends who are also sharing their Spring DIY Projects as part of the Seasonal Simplicity Spring Series. You’re going to love all this springy inspiration…

The Happy Housie // Lolly Jane // Craftberry Bush
Inspiration for Moms // Rooms FOR Rent

Zevy Joy // Modern Glam // Hallstrom Home
A Pretty Life // Confessions of a Serial DIYer

Jenna Kate at Home // Life is a Party // Tatertots and Jello
Town and Country Living // Place of My Taste

Rambling Renovators // Home Made Lovely // The DIY Mommy // Sincerely, Marie Designs
Paint Me Pink // Amber Tysl

Southern State of Mind // This is Our Bliss // Tauni Everett
Finding Silver Pennies // Clean & Scentsible
DIY Stenciled Doormat with Silhouette
Stenciled Doormat Supplies

In order to make your own custom stenciled doormat, you will need the following supplies:
- Silhouette CAMEO cutting machine (If you don’t have a Silhouette Cameo, check out the latest deals here)
- sponge brushes
- small paintbrush
- black acrylic craft paint
- plain coir doormat (mine is from Target)
- Silhouette vinyl roll in any color
Step 1: Create Your Cute Shoes Doormat Stencil

First, create your template in your Silhouette CAMEO Studio software. You will want your design to fit the size of your doormat.
- Select the text tool and choose the font you want to use. (I chose Arial for my CUTE SHOES saying)
- Type your word in Silhouette Studio
- Load your vinyl sheet into the cutting machine and create your stencil!
Step 2: Paint Your Doormat

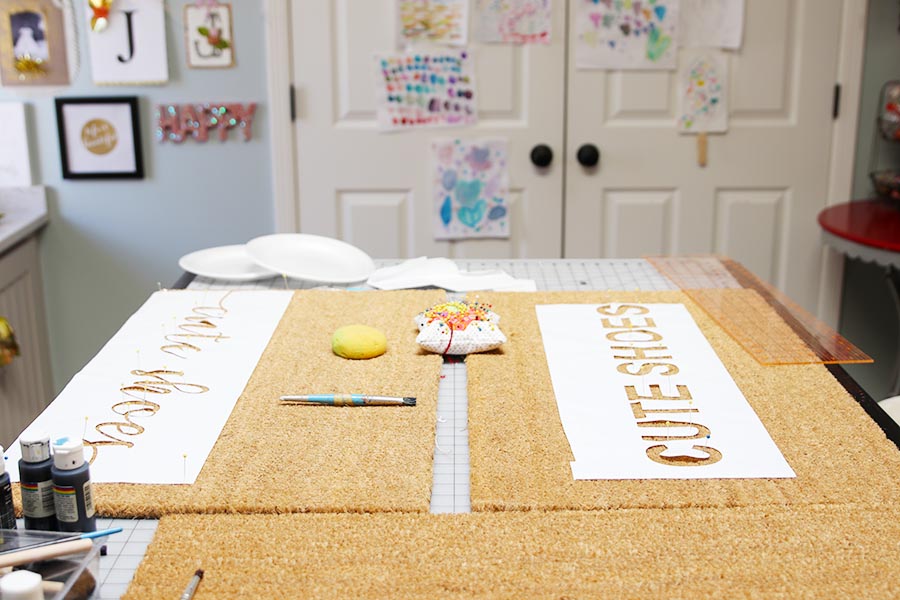
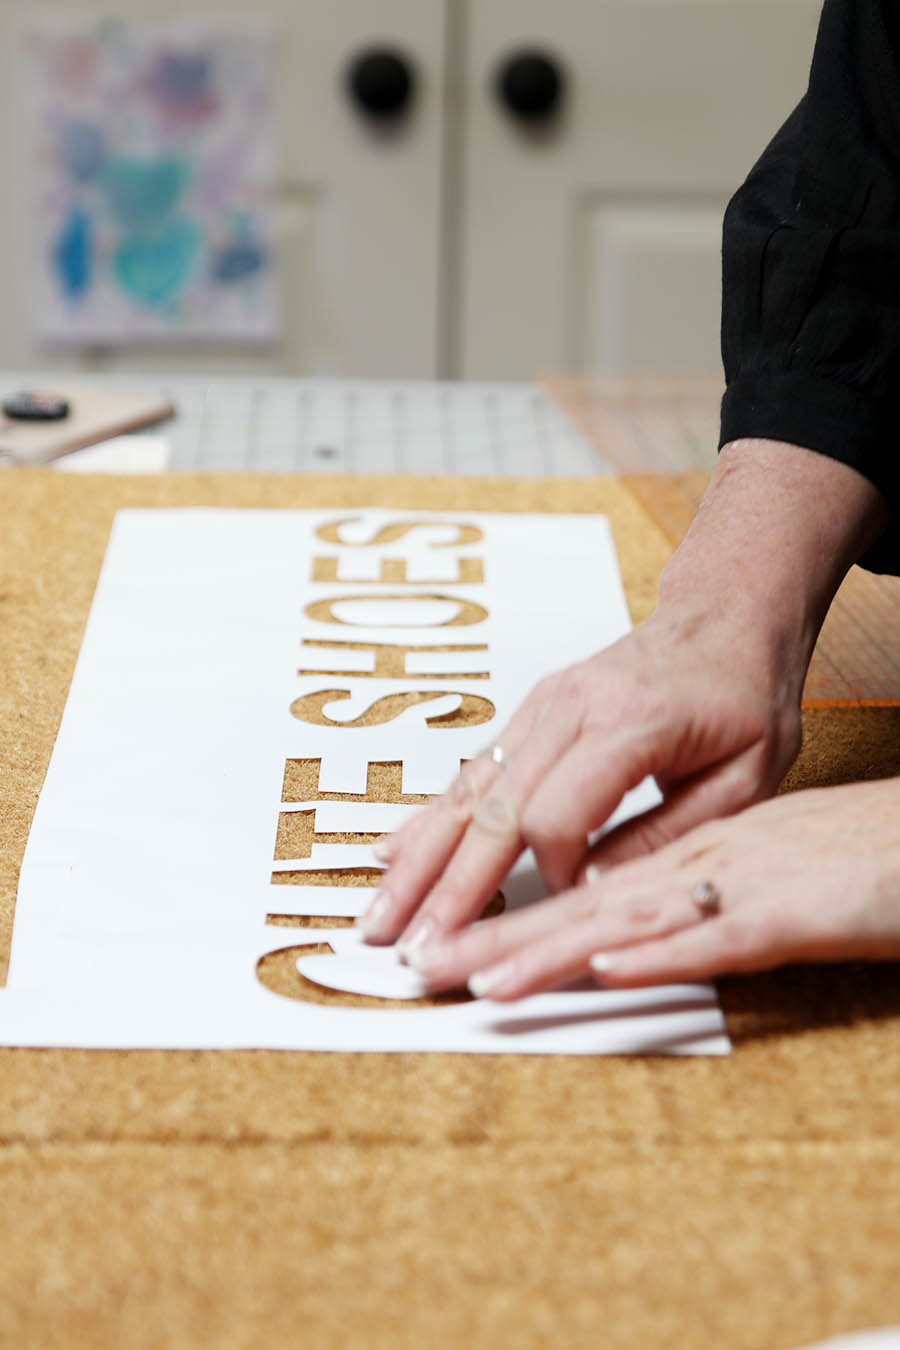
Now, carefully peel off the backing of the stencil leaving the text outline. This is what will be your stencil. The great thing about cutting the stencil out of vinyl is that it will naturally stick to your doormat to make painting much easier!
Place the vinyl cutout on your doormat. If there are any middle parts of the letters (like the middle section of the letter O), make sure you grab those off the vinyl backing and place onto your doormat as well.
Tip: Using sewing pins to keep smaller pieces or corners in place makes painting much cleaner and easier!

Once the stencil is in place, start dabbing on the paint. Use up and down motions to keep bleeding minimized. By using a sponge pouncer brush, you can create crisp, clean lines.
Once you have 2 coats of paint done, carefully peel off your stencil. And touch up any lines or letters with a smaller paintbrush.

How To Make A Custom Stenciled Doormat without Silhouette
Now, if you don’t have access to a cutting machine like a Cricut or a Silhouette, you can still make your own stencil. My friend Tana, Your Marketing BFF has a great, detailed tutorial for making a custom stenciled doormat using just your printer and some posterboard. Check out her DIY Painted Doormat post for details!

My mom’s scripty CUTE SHOES doormat was inspired by Tana’s post!
Questions you may have about making your own Cute Shoes Doormat:
Do I need to use a special paint for this DIY Stenciled Doormat?
You do not need any kind of special paint for this Cute Shoes doormat. Regular acrylic craft paint works great. My sister told me that it has snowed six times on her current stenciled doormat and the paint still looks great!
Do I need to seal my painted doormat?
You do not need to seal your stenciled doormat. If your doormat seems to fade over time, you can retouch the paint with a small paint brush.
Can I make a doormat without a Silhouette or Cricut?
Absolutely! You can make a custom stenciled doormat without having a cutting machine. See the link above for a Tana’s detailed blog post for making a DIY Cute Shoes doormat!
If you liked this Cute Shoes Doormat DIY, you make also enjoy:


- DIY Painted Robins Eggs for Easter Decor - March 15, 2025
- Chocolate Bunny Cupcakes for Easter - March 12, 2025
- Easy Cinnamon Roll Bunnies With Orange Glaze - March 5, 2025


Rhonda Hallstrom
I am in love with this project Ashley
Jennifer @ Town and Country Living
I love that your welcome mat says “Cute Shoes”! So clever. Thanks for sharing the tutorial!
Krista
Love it! Such a great springy project – and I love that saying. So glad you could join in today’s hop, Ashley. Happy spring!
Tana - Your Marketing BFF
I just came over to read your blog and am totally shocked (and honored) that your mom made my doormat design! Thanks for sharing… I love all of them. 😘😘😘
Tauni
Ashley, your doormat looks great! It’s still cold here, but these spring projects are getting me really excited about warmer weather!
Jennifer Hadfield
Such a cute doormat! It was fun creating with you. Love you!
Jennifer Hadfield
I pinned it too!
Laura @ Inspiration for Moms
Love this doormat! So fun! I pinned ya! 🙂
Aniko @Placeofmytaste
OMG! These are so fun! I need to make me one! Thanks for sharing! Pinned!
Christy James
These are all so cute!! And I love your Mom’s cheery front door color! XO
Lucy AKINS
Eeep…I love it so much.
Annie
This is such a good idea! I need to try this!
Amber
This is such a fun DIY and would make for a great girls night craft! Thanks for sharing, Ashley!
Rachael @ This is our Bliss
How cute! I love both the fonts you and your mom used! I need to finally make one of these – so fun!