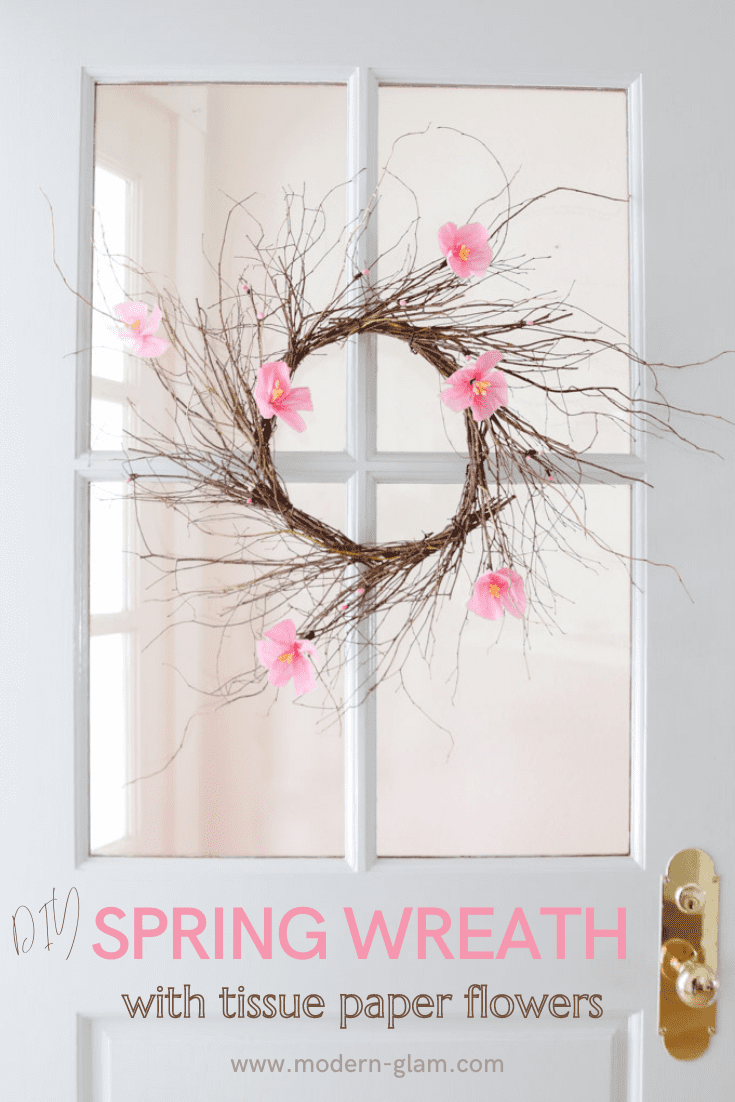
Make this DIY Spring Wreath for your front door! Made with pink tissue paper flowers, this is a simple wreath for spring.
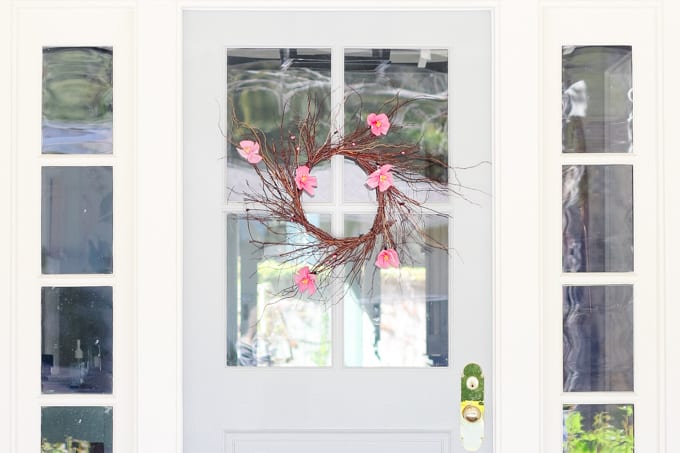
Spring is in the air here in California! The hills are green and the trees are blooming with pretty pink blooms. This whimsical DIY spring wreath is inspired by nature. Learn how to make it below with my step-by-step tutorial.
DIY Spring Wreath Craft

Have you ever made flowers out of tissue paper? I have been wanting to try this for awhile now. I am always in awe when my friend Janine Happy Happy Nester busts out her beautiful paper flower ideas!
So, making this DIY spring wreath has been on my radar for a few weeks now. I knew I wanted to use a whimsical grapevine wreath as the base and add a few little spring blooms to it. The result is fun and simple with a pop of pink that is just perfect this time of year!
What You Need To Make This Spring Wreath
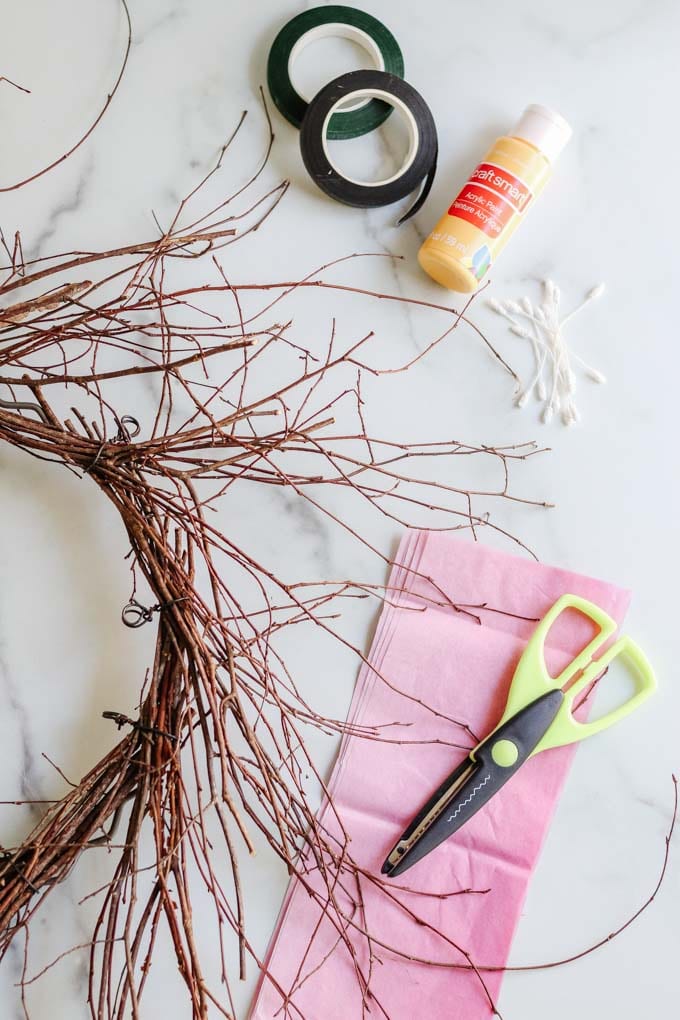
You don’t need anything too fancy to make this spring blossom wreath. Simple craft supplies. Here’s a list:
- 24″ Grapevine Wreath
- Floral Tape (brown)
- Tissue Paper
- Patterned Scissors
- Floral Stamens (and yellow paint if you can’t find yellow stamens)
- Glue Gun
How To Make Simple Tissue Paper Flowers
Now that you have all your supplies, let’s get started making this DIY Spring Wreath by making the paper flowers.
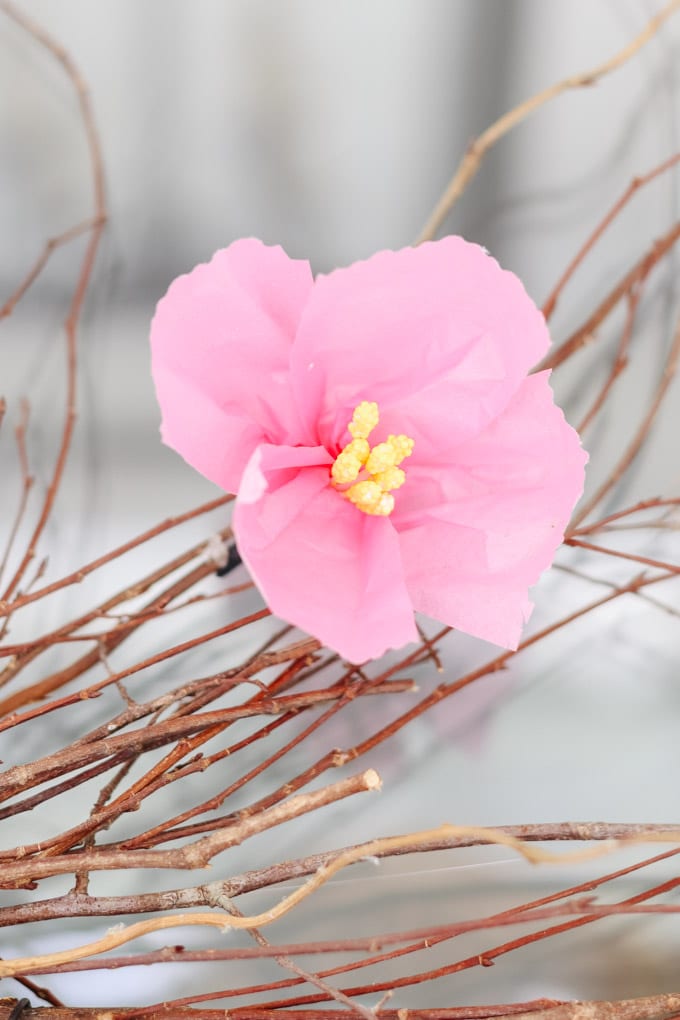
The flowers I made for my wreath are made out of plain tissue paper in a pretty pink color. I used this tutorial from In Style as a jumping off point but tweaked it a bit.
The flower stamens that I found only came in white so I started by painting them yellow. I linked these that are the perfect shade of yellow. So, if you purchase those you can skip that step.
Tissue Paper Flower Making Step 1
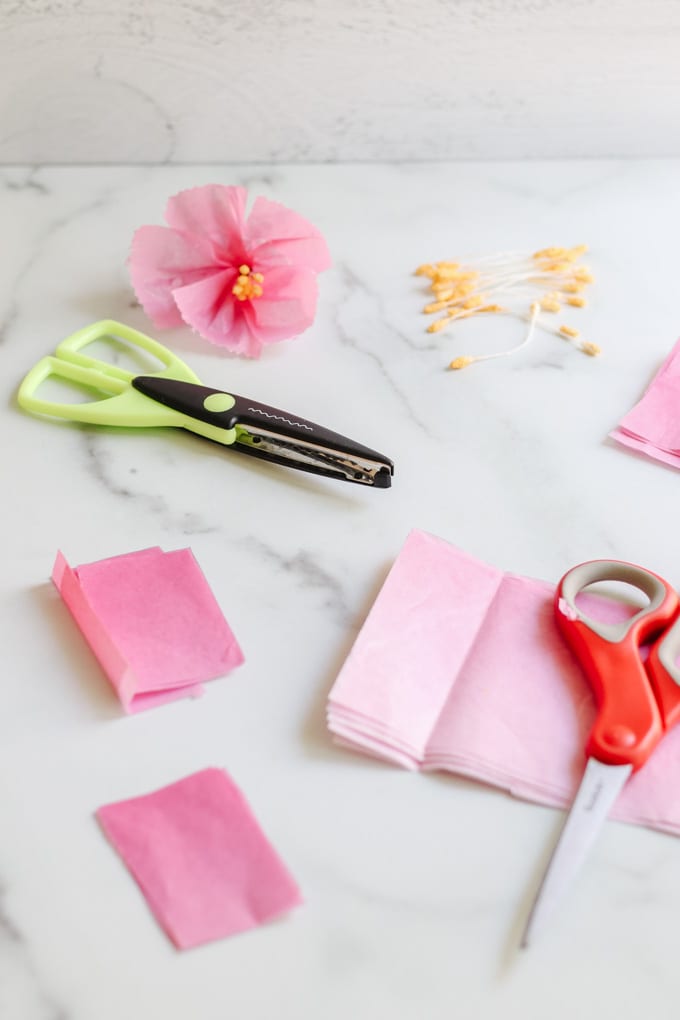
The first step is to cut the tissue paper into 2″x3″ pieces. Place them in stacks of 5. For each flower you will need 5 strips of paper.
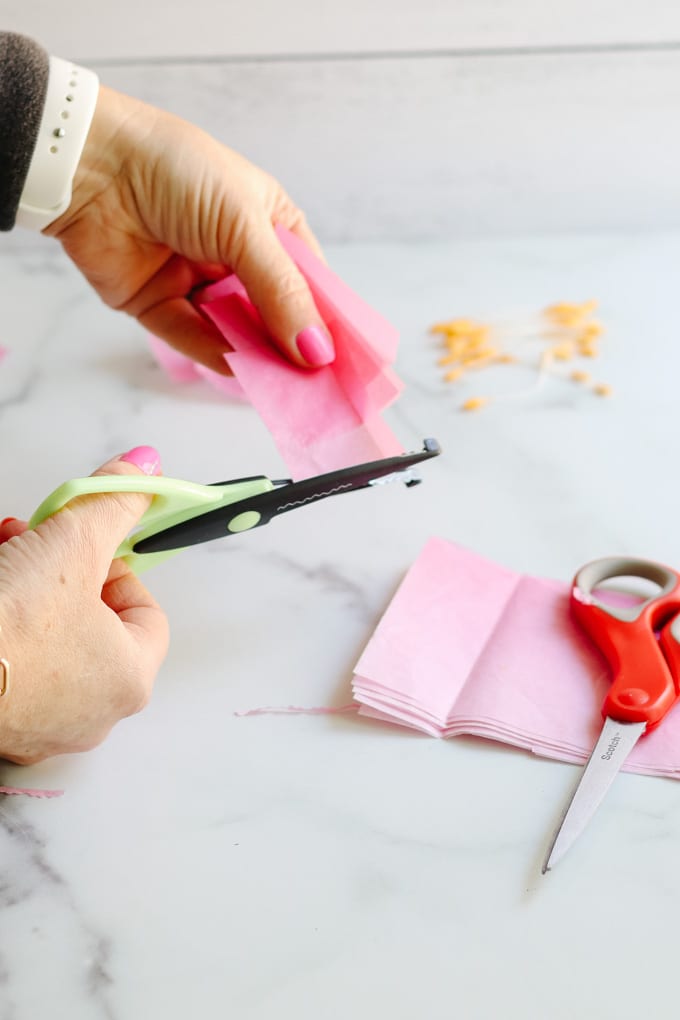
Next, let’s fringe the ends of the tissue paper. Take one short end of tissue paper and cut with your patterned scissors. You can use any irregular scissors for this. This will give the petals a more natural look.
Step 2: Assemble the Flowers
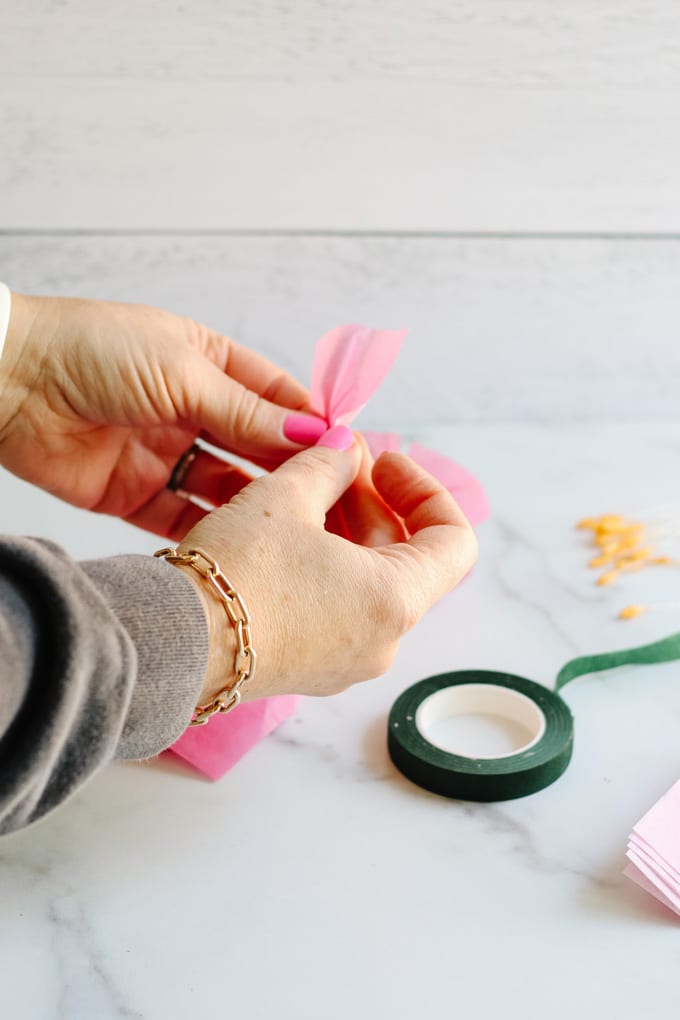
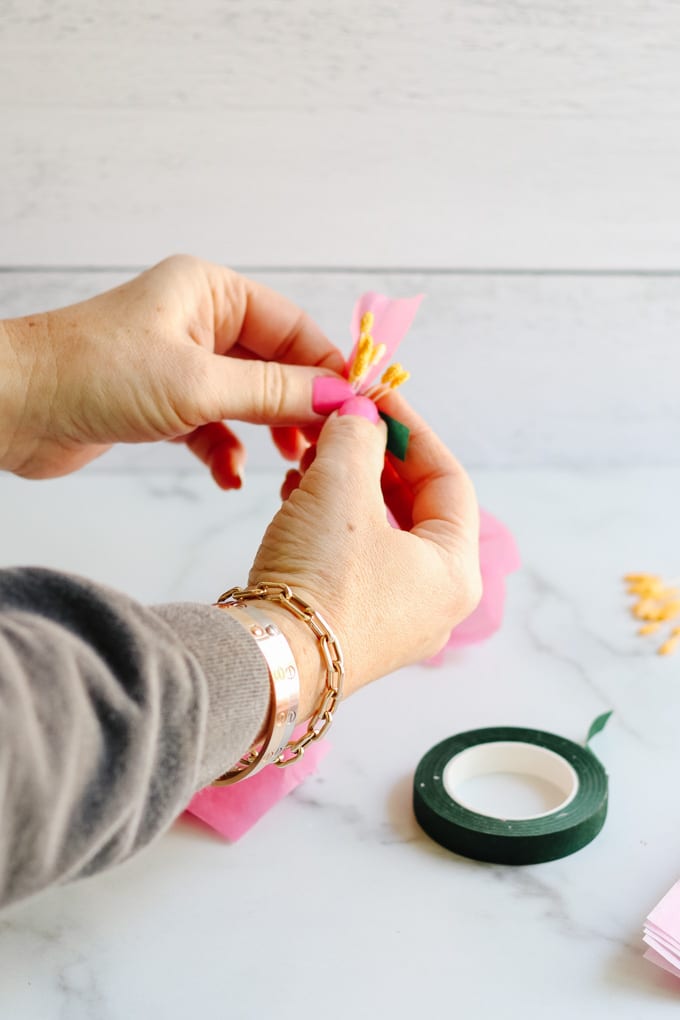
Take 3-4 double ended stamens and fold them in half. Then take one piece of tissue paper and gently pinch the base creating a cup-like petal. Using the floral tape, secure the stamens to the bottom of the petal.
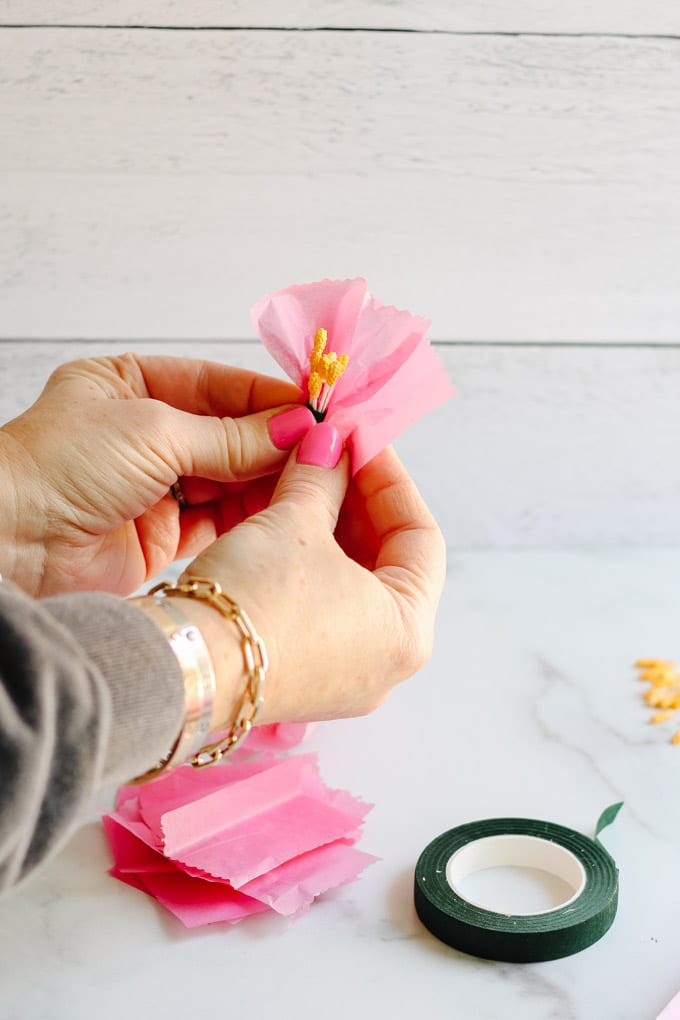
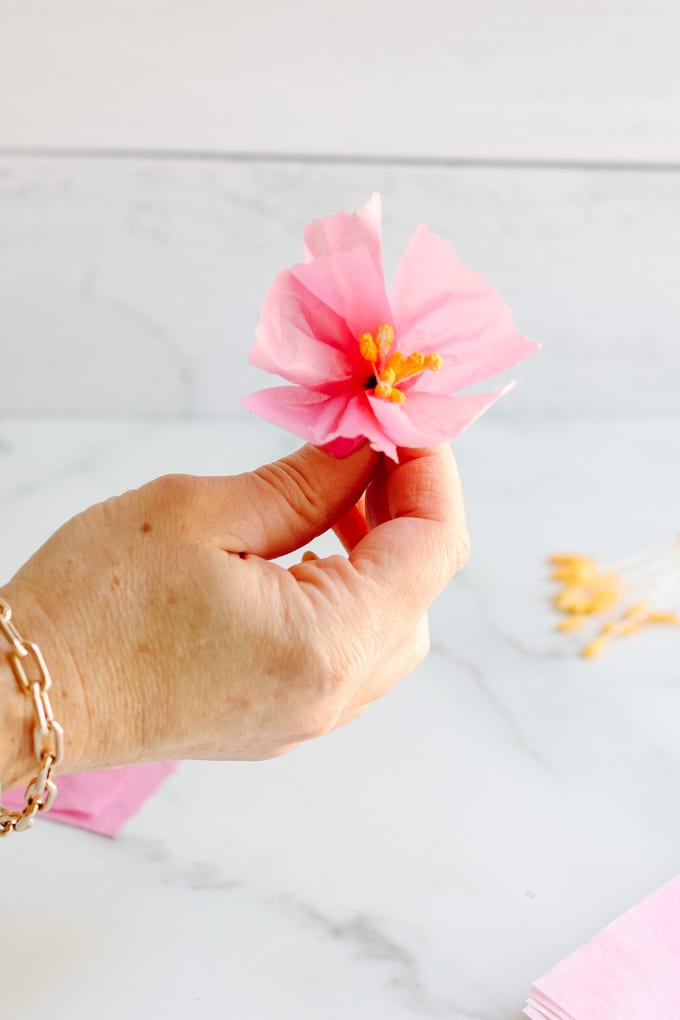
Continue adding petals to the group, attaching each petal to the base of the flower using the flower tape. The petals should slightly overlap at the bottom so they radiate outwards. Each flower is made of 5 petals. When you are done, you should have a beautiful spring flower!
You can adjust the petals to have a more open or closed appearance by fanning them out or gently pulling the petals up.
Step 3: Making Flower Buds
Now, let’s make some tiny flower buds to add to the end of the branches of this DIY spring wreath.
Take the tissue paper and cut it into 1″x1″ and 2″x2″ pieces.
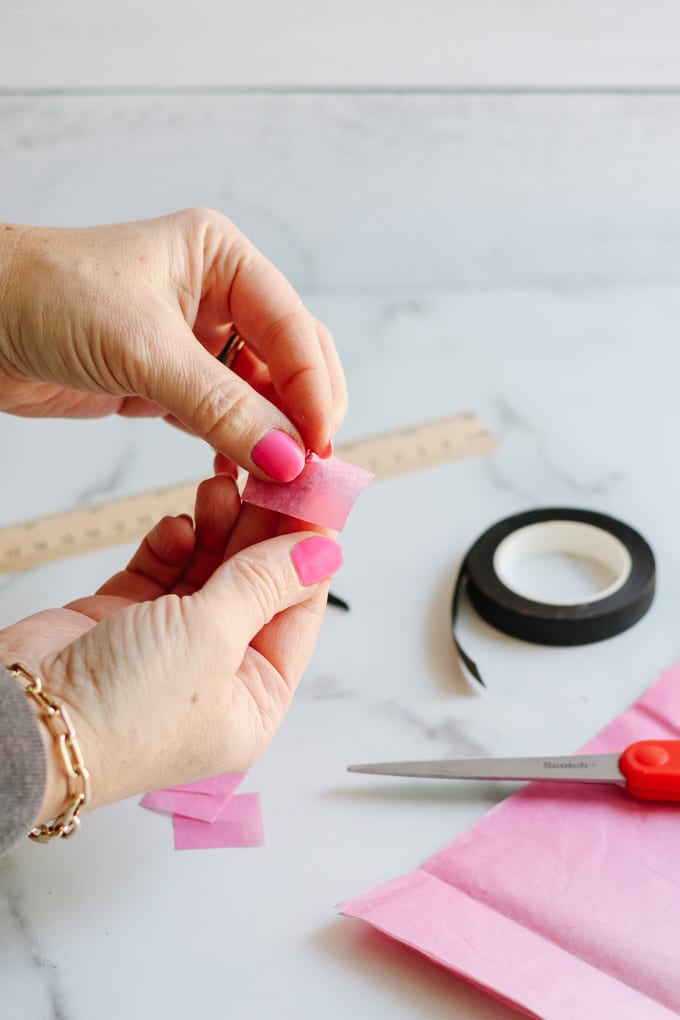
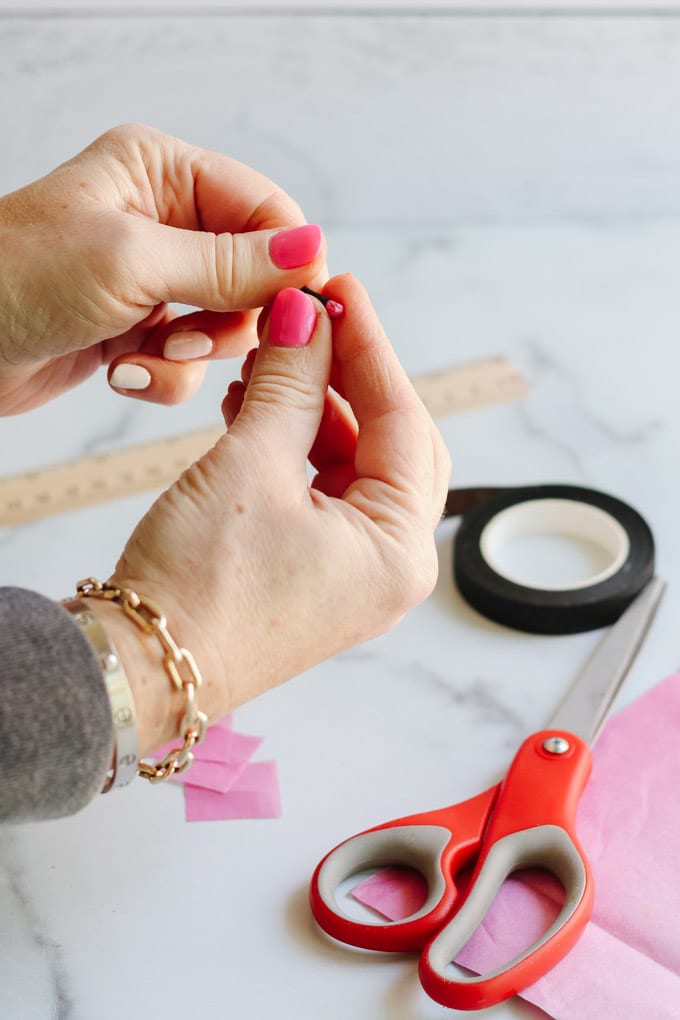
With the 1″ piece, crumble it into a tight ball. Now, use the 2″ piece of tissue paper and place the ball in the center and gently wrap the larger piece around being careful to create a smooth bud.
Pinch the corners together and secure with brown floral tape. Trim the excess tape so that the ends are only about 1/2″-1/4″ long.
Note: For my DIY Spring wreath I used 6 paper flowers and about 10 tiny flower buds.
Assemble the Spring Wreath
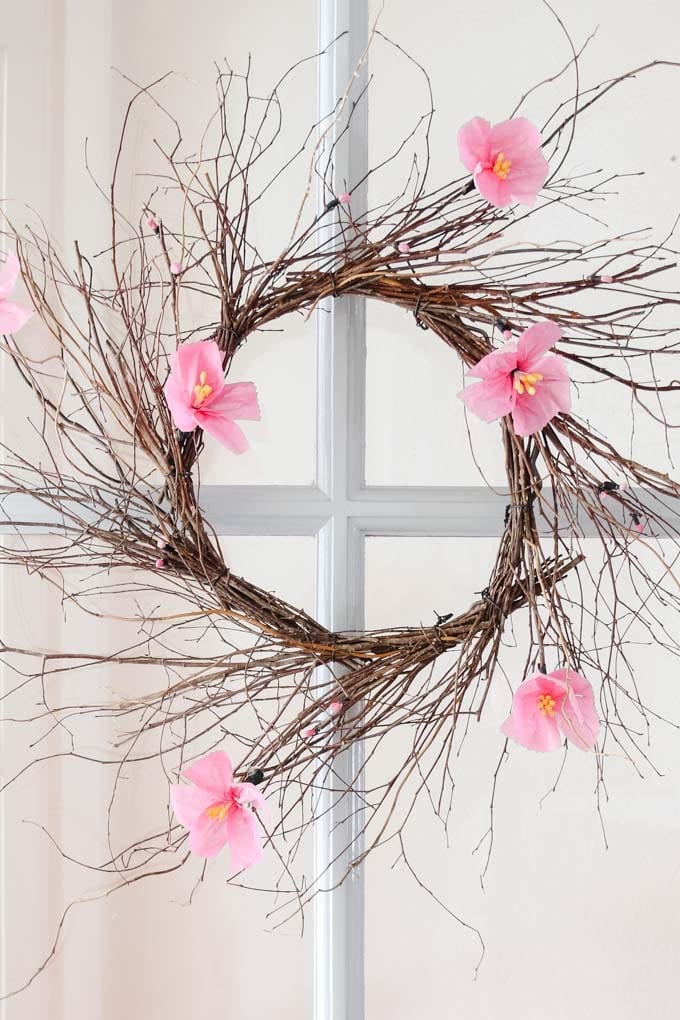
Ok, now that we have all our flowers made, let’s put the wreath together!
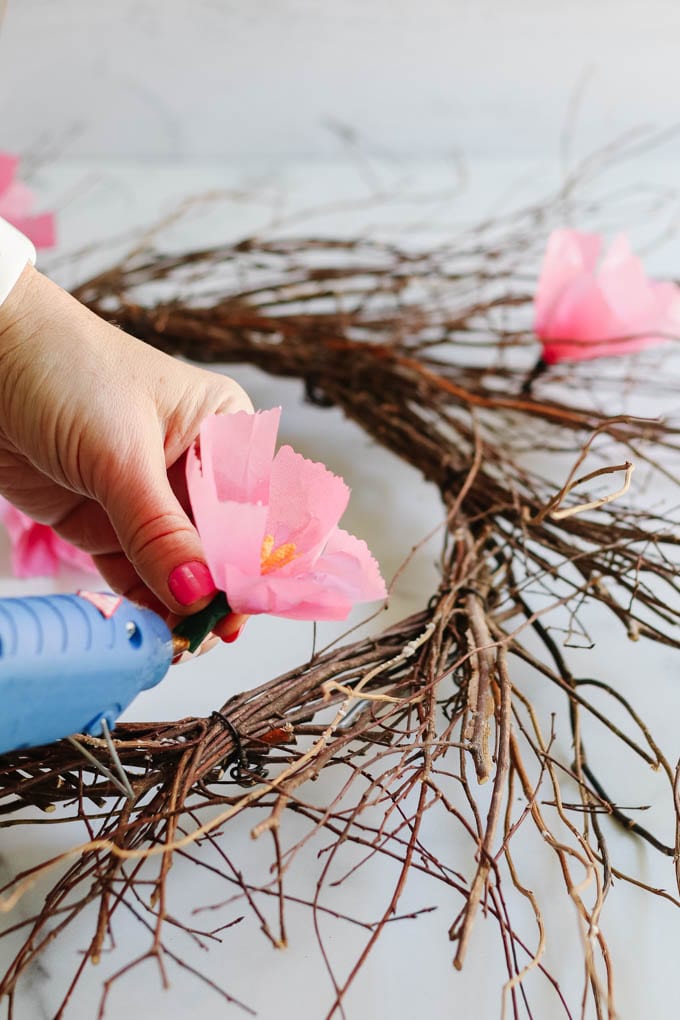
Using the glue gun, attach the flowers to the grapevine wreath form. I placed the flowers where it felt natural. Some are placed close to the center and others at the tip of a branch.
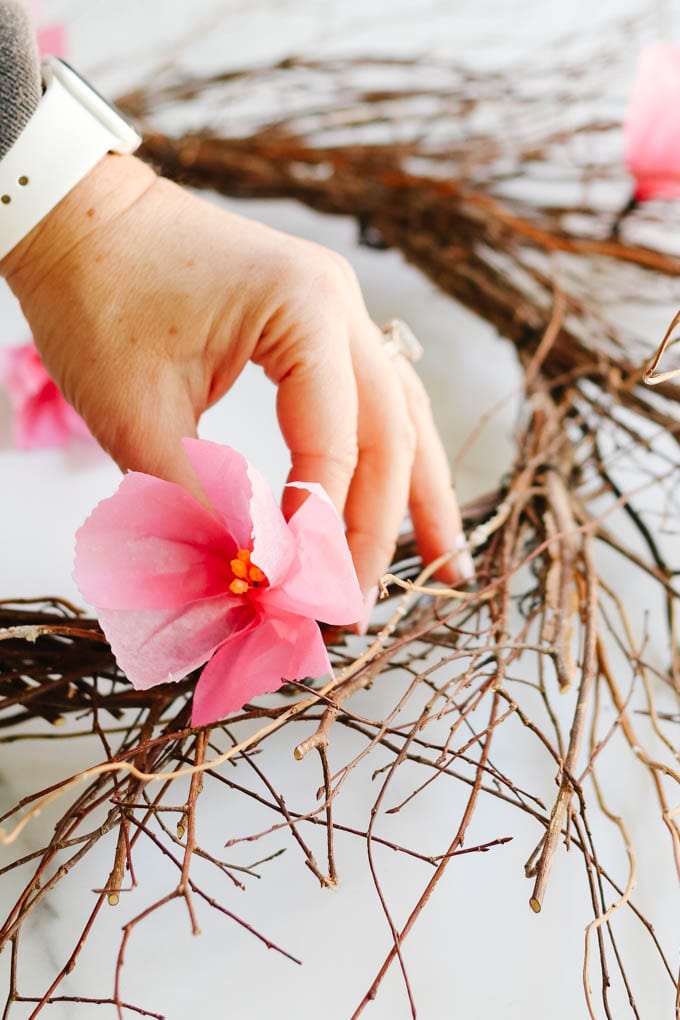
Attach the tiny flower buds with the glue gun too. I love how the pink buds add to the realistic but whimsical feel of this DIY spring wreath.

Now, you have a simple, modern spring wreath for your front door that is reminiscent of the early spring blooms that are popping on the trees.
Let me know if you give this a try!


Check Out These Other Spring Wreath Projects
My friends are joining me today and sharing their beautiful spring wreaths. Click the links below to visit their post to see the tutorial and learn more!

Spring Butterfly Pennant Wreath // Tatertots & Jello
DIY Spring Wreath // Happy Happy Nester
A Spring Easter Egg Wreath // Finding Lovely
Metal Hoop Spring Wreath // Twelve on Main
Spring Flowers Monarch Butterfly Wreath // Craftberry Bush

Spring Garden Wreath // My 100 Year Old Home
How to make a Dried Flower Wreath // The DIY Mommy
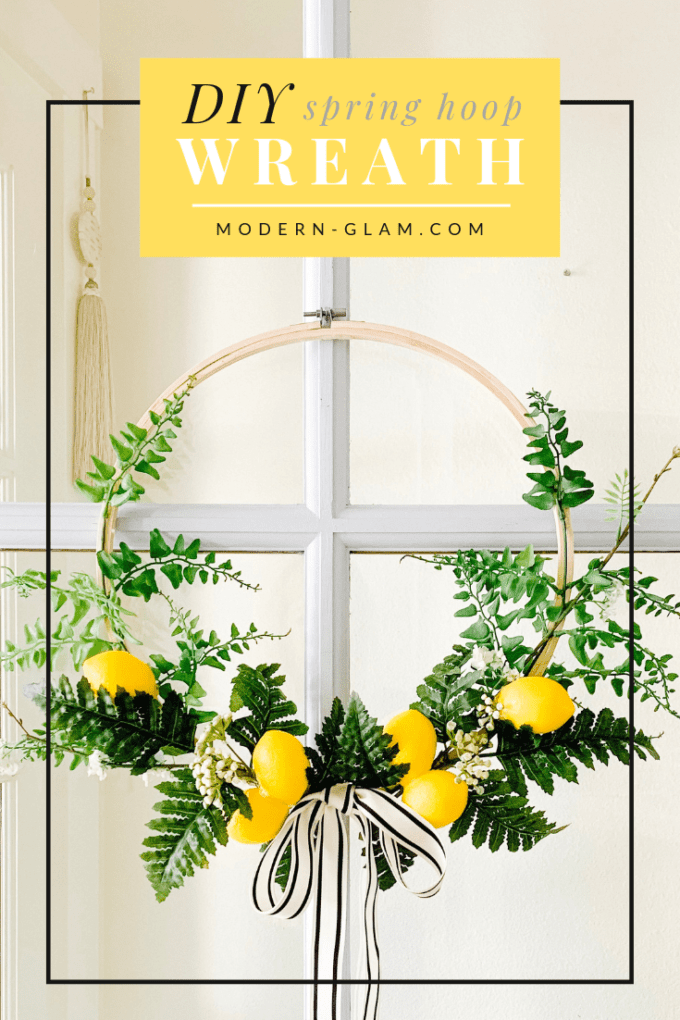
Whimsical Spring Wreath // Modern Glam
How To Turn A Fall Wreath Into A Spring Wreath // My Sweet Savannah
My Favorite Wreath DIY Ideas

- DIY Painted Robins Eggs for Easter Decor - March 15, 2025
- Chocolate Bunny Cupcakes for Easter - March 12, 2025
- Easy Cinnamon Roll Bunnies With Orange Glaze - March 5, 2025



Jackie
Ashley I love the tissue flowers so much! Great tutorial on making them. I’m excited to try!
jennifer hadfield
Your wreath is so pretty ashley! I need to make one. I love the pink. And I love your white house paint color. It looks so good. I pinned it to my DIY Spring board to share 🙂
xoxo
Tanya Derrey
This is such a beautiful wreath Ashley!
Sarah @ The DIY Mommy
Your wreath is really cute. Your flowers are perfect!