Learn how to embroider a sweatshirt with custom lettering and transform your ordinary clothing into a piece that is unique to you!
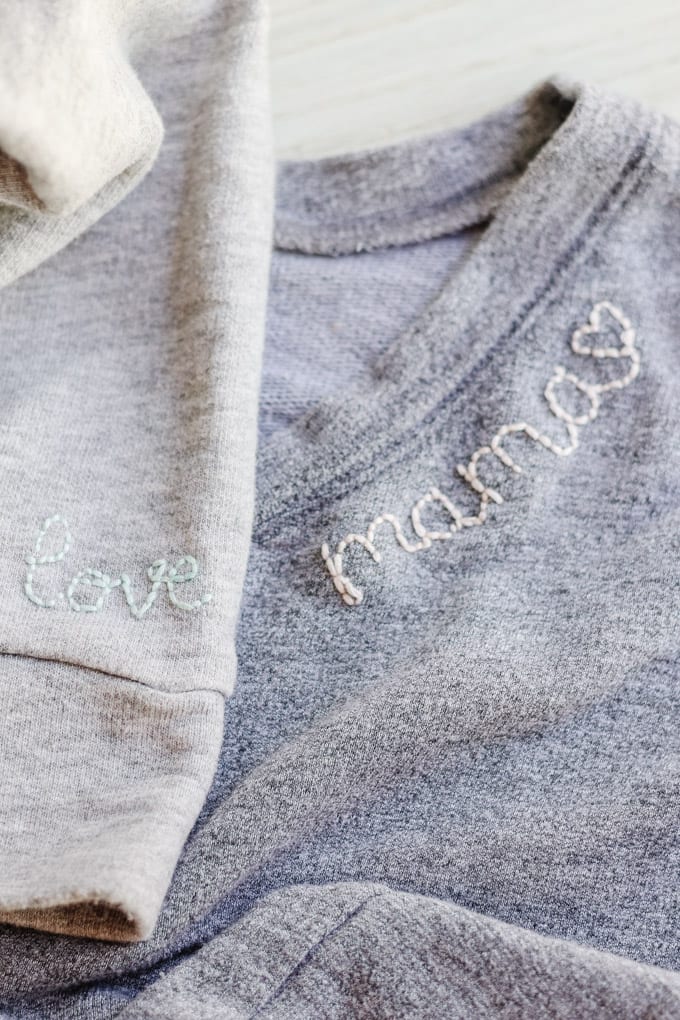
How To Embroider A Sweatshirt
Custom embroidery on sweatshirts has been a popular trend for a few years now. In my store, Flaunt we have sold fun vintage sweatshirts with embroidered lettering on them with a price well over $100.
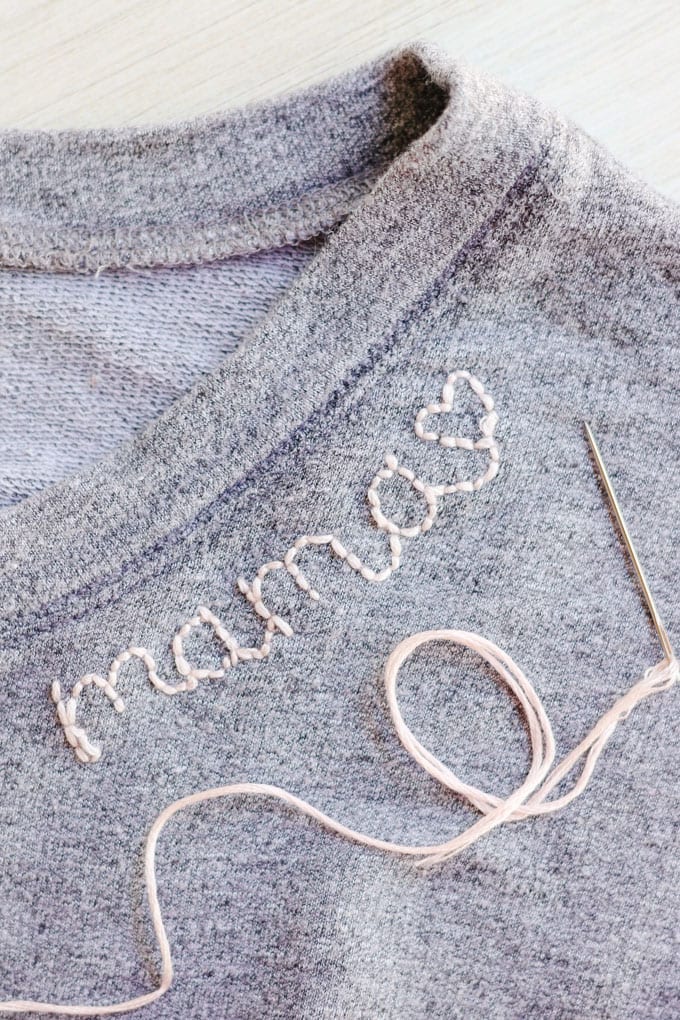
I have always wanted to try this trend. So, I took a few old sweatshirts and added some fun embroidery to the sleeves and neckline. Chances are you have an old favorite sweatshirt in your closet that would be fun to breathe new life into. I can’t wait to show you how easy it is to embroider a sweatshirt!
I think this would be a great gift idea too. Imagine a friend opening up your present with a totally unique saying stitched onto the top!
DIY Embroidered Sweatshirt

There are a few different places you can embroider on your sweatshirt. The neckline is one of the most popular right now. I love seeing lettering on the cuff of the sleeves or chest as well.
And if you are looking for ideas as to what you can say with your custom lettering, here are a few suggestions:
- Name (or initials)
- City or State
- Emotions (love, joy, strong)
- Positive Affirmations
- Hobbies (dance, yoga, etc.)
- Mama, mamacita, mommy, grandma, sister
- Bride or bridesmaid
Ok, now that I have your wheels spinning, let’s get started and I’ll show you how to embroider a sweatshirt.
What You Need To Embroider A Sweatshirt

The necessary supplies to embroider a sweatshirt are pretty simple. Gather together the following items:
- Sweatshirt
- Embroidery Thread
- Needle
- Fabric Pen
- Pencil and Paper
- Scissors
How To Embroider Letters on A Sweatshirt

Next, you will want to decide what you want the embroidery on your sweatshirt to say and sketch out the template on paper. This will just serve as a visual guide when writing the design on your clothing.
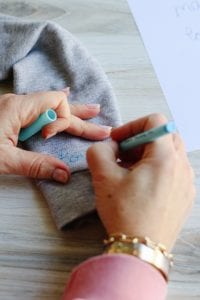
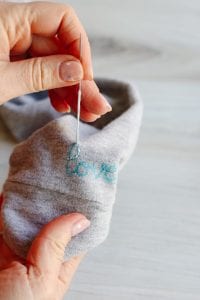
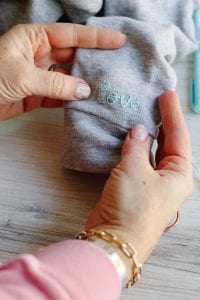
Use the fabric pen and write the letters on your sweatshirt. Here, I am going to embroider the word “love” on the cuff of my daughters sweatshirt.


Once you have the saying written with fabric pen onto your sweatshirt, it’s time to get started with the embroidery.
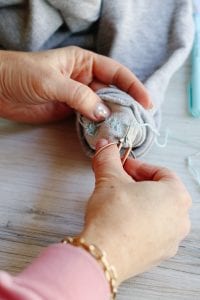
Thread your needle with a long length of embroidery thread. Tie a knot at the end. Start at the beginning of the first letter using a backstitch.


I think this stitch gives the letter a bubbly effect and is relatively easy to learn. And I think a video is always easier to learn something new like embroidery or knitting. Check out this YouTube video that I found that shows how to do a backstitch.


While you are working, you should be stitching how you would draw or write the word. Start at the beginning of the word and work through to the end. Once you are done, flip it over and tie a knot at the back to secure the work.

Next, you can rinse off the fabric marker that you used to trace the design under the faucet and let dry.
Now you have totally customized embroidered sweatshirts! What a fun way to update a wardrobe basic! Don’t forget to print out the DIY instructions below!
If you’d rather buy a sweatshirt already embroidered, check out these items I’ve found for you. Some can be totally customized with whatever word or phrase you’d like!
More Embroidery Ideas
Today I am joining two of my favorite blogging friends. We are sharing our embroidery DIY ideas. It’s such a popular trend right now! Check them out below.

This adorable felt flower wreath DIY is perfect for spring or summer. Learn how to make a rosette and rose flower for this embroidery hoop wreath.

Leslie is sharing this DIY Easter craft pillow. Learn how to make a Free Stitch Embroidered pillow with carrots.
DIY Embroidered Sweatshirt
Ingredients
- Embroidery Thread
- Sweatshirt
- Needle
- Scissors
- Paper
- Pencil
Instructions
- Decide what you want to embroider on your sweatshirt and sketch out the template on paper. This will just serve as a visual guide when writing the design on your clothing. Then using the fabric pen, write the letters on your sweatshirt.

- Next, thread your needle with a long length of embroidery thread. Tie a knot at the end. Start at the beginning of the first letter using a backstitch. Continue using backstitch embroidery to complete the lettering. While you are working, you should be stitching how you be draw or write the word. Start at the beginning of the word and work through to the end.

- Once you are done, flip it over and tie a knot or two at the back to secure the work.

- Next, you can rinse off the fabric marker that you used to trace the design under the faucet with cool water and let dry.


And check out these other Fashion DIY Ideas That You May Like!


- DIY Painted Robins Eggs for Easter Decor - March 15, 2025
- Chocolate Bunny Cupcakes for Easter - March 12, 2025
- Easy Cinnamon Roll Bunnies With Orange Glaze - March 5, 2025




erin
could you tell me how to find that kind of fabric marker?
ashley
any fabric or craft store. Or Amazon
Reta
You do not use stabilizer when embroidering sweatshirt. Would you recommend stabilizer when embroidering across the front of sweatshirt? Just going to do lettering, cursive writing.
Thx, Reta
ashley
You definitely can. But to make things a bit simpler and less product to buy, I did not use it.
Caitlin
What size needle did you use and how many strands of embroidery thread?