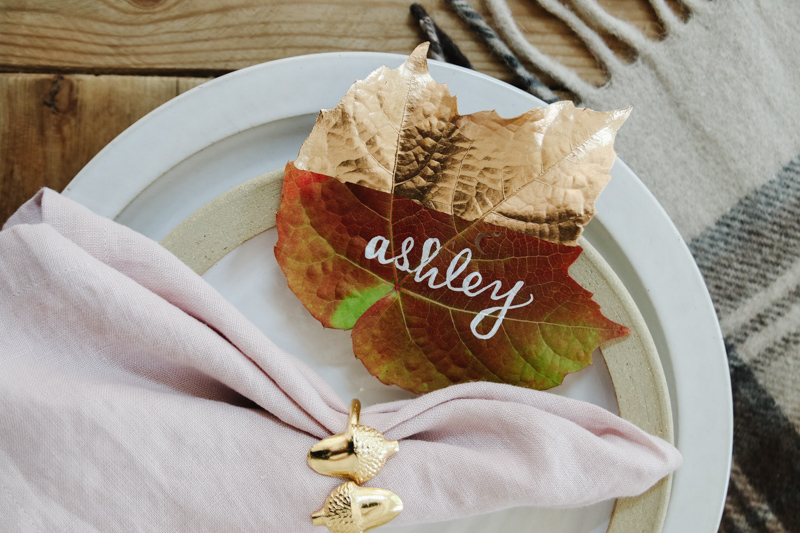
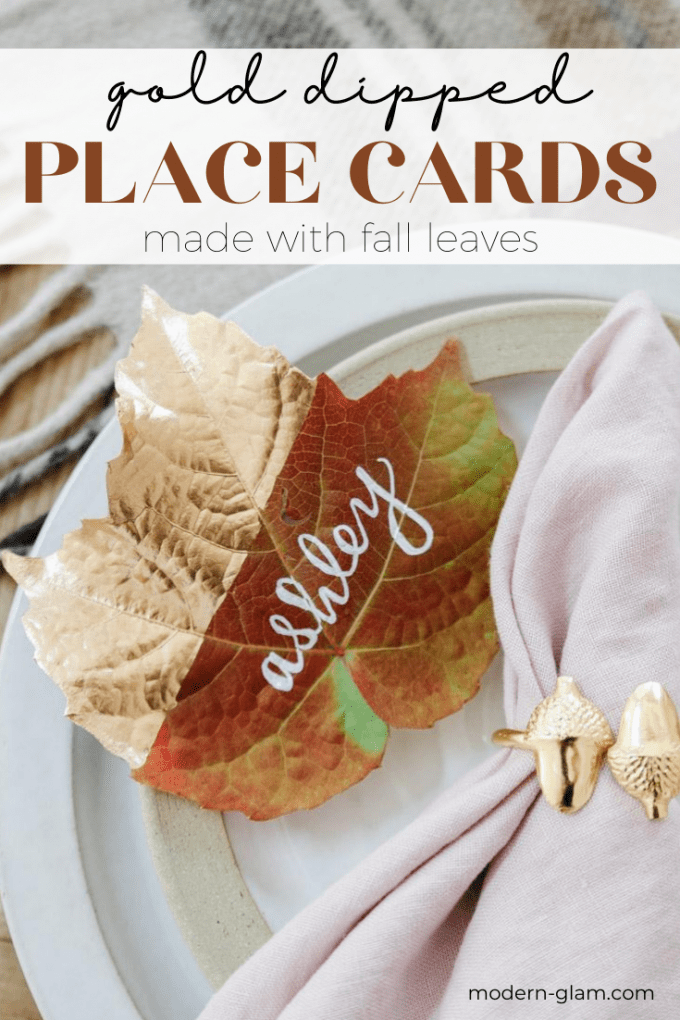
Want to dress up your fall table with a fun DIY? These gold dipped fall leaf place cards are so simple to make with a little paint and some leaves from the backyard!
Fall is almost here and I’m ready! Pumpkin spice, baked apples and cozy textures.
This year may feel a bit different. We may not be having large parties, but I think that makes it even more fun to create something special for the ones you will be spending time with.
This fall and winter I am all about creating a hygge home. Hygge is a feeling, a lifestyle and a comfort to the soul. I don’t know about you, but after this year, our family needs it more than ever.
I am looking forward to tucking in and savoring those slower moments.
Gold Dipped Fall Leaf Place Cards
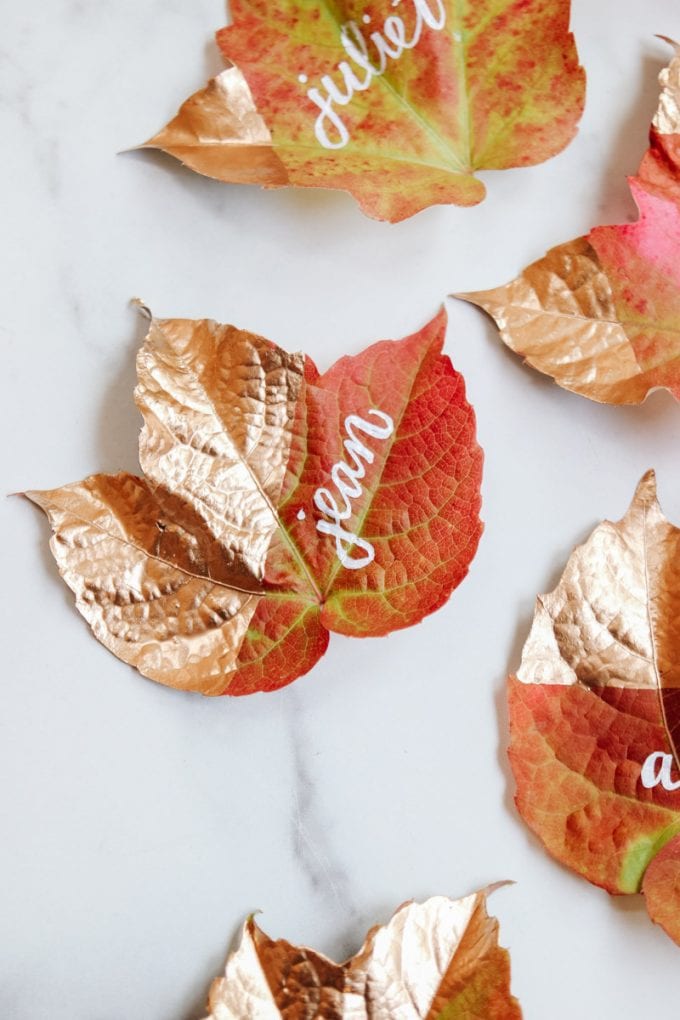
In that mindset, I created these DIY leaf place cards for fall that bring a bit of nature inside and add a certain organic feel to your fall table.
These gold dipped leaf place cards have just the right mix of glam and natural feel. I love the juxtaposition between something found in nature and then dipping them in beautiful, gleaming gold paint.
Well, they aren’t actually dipped, but we will get to that in a minute.
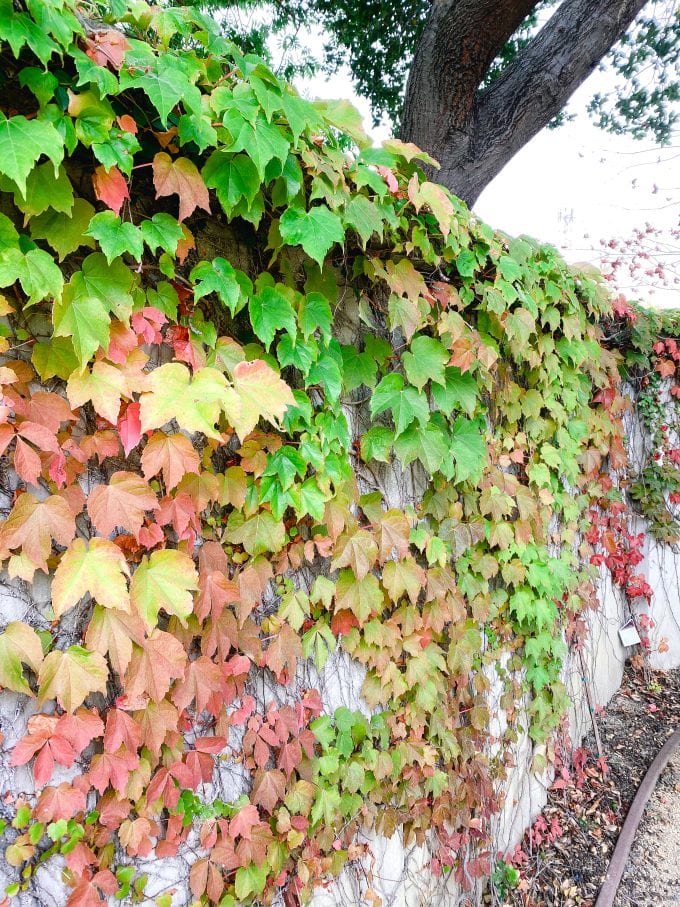
We have this climbing Boston Ivy in our backyard that turns the most gorgeous shades of red, orange and pink in the fall. It is just barely starting to turn, so I went out and snipped a few leaves and decided to create a fun fall place card with them.
How To Make Fall Place Cards
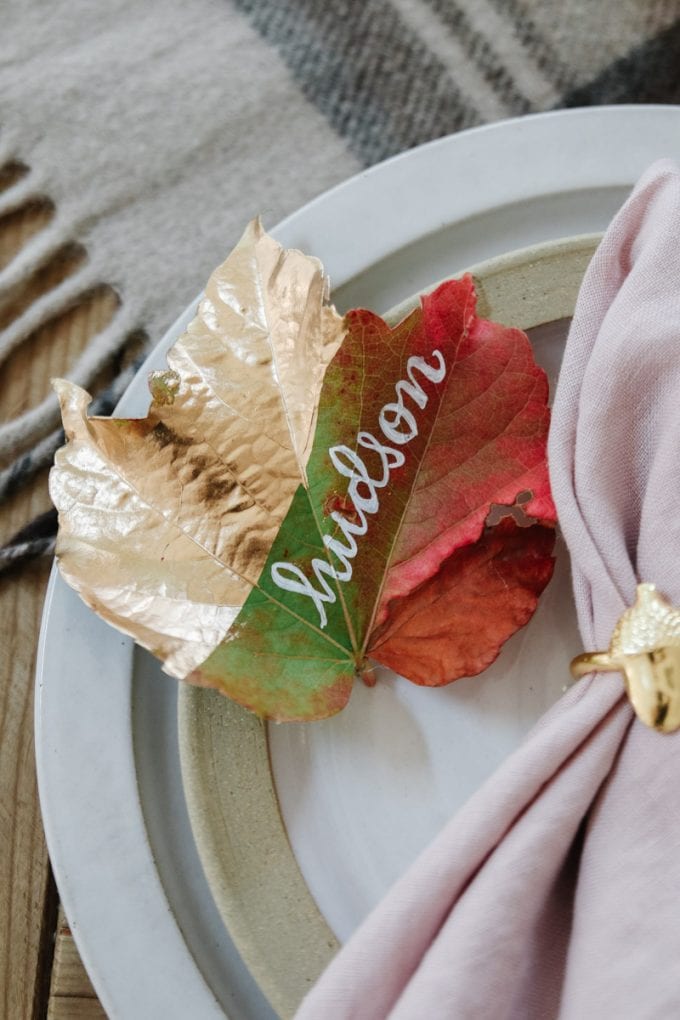
These are so simple to make. I know, it’s not rocket science, but let me show you how I made them and offer a few tips too!
Here are the supplies you will need to make these simple fall place cards:
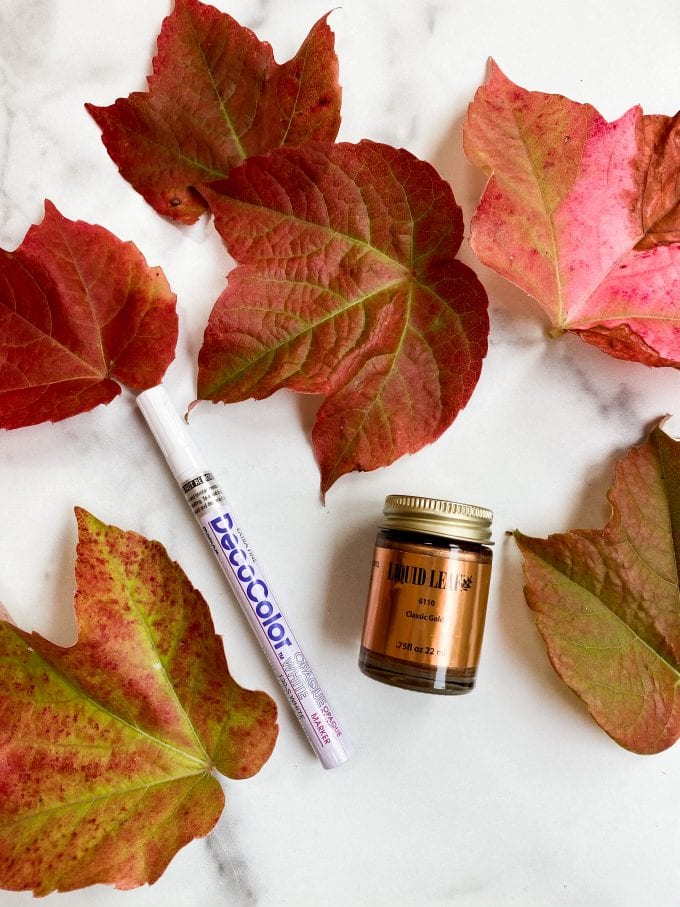
- Fall leaves (1 for each place setting)
- Gold Leaf Paint
- Paintbrush
- White Paint Pen
Tip: You will want to use fresh leaves for the place cards. Choose ones that are still soft and not completely dried up. When writing the names on the leaves, it will be much easier since you will need the flexibility.
Once you have gathered your leaves, remove the stems and place them on a flat surface.
Next, decide what design you want to draw on the leaf with the gold paint. For some leaves, I color blocked the tips and for others I made it look like the entire leaf was partially dipped in paint.
P.S. don’t look too closely at my nails – I need a manicure badly!
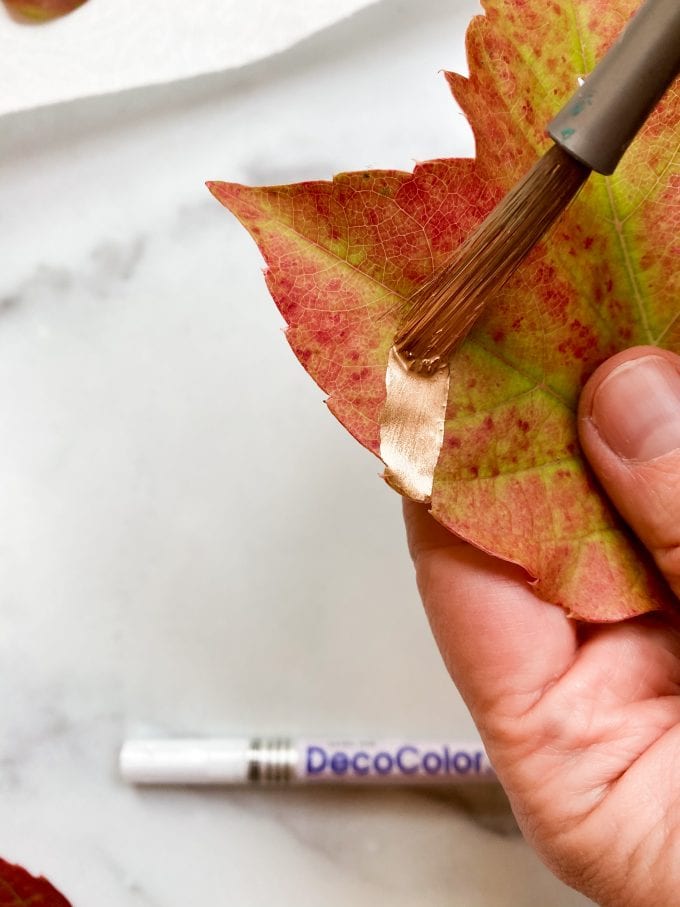
Using a paint brush, draw the line to create the dipped look and then fill in the remaining part of the leaf.
I like to look at each leaf and choose the part that I want to leave exposed. So, for some leaves that were brighter red on some parts and more green in others, I painted over the green.
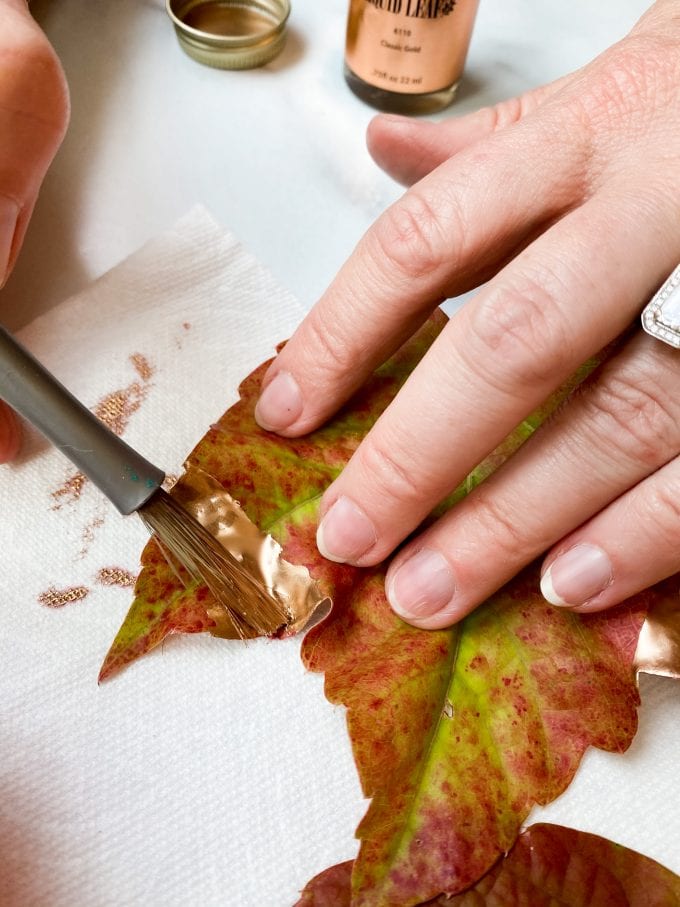
Play around and feel free to do different designs on each place card to vary the look for each place setting
DIY Fall Place Card Idea
Now, the next step is to write the names of your guests on the place cards. I used a basic white paint pen and it worked great. Choose one with a fine point to make the lettering easier.
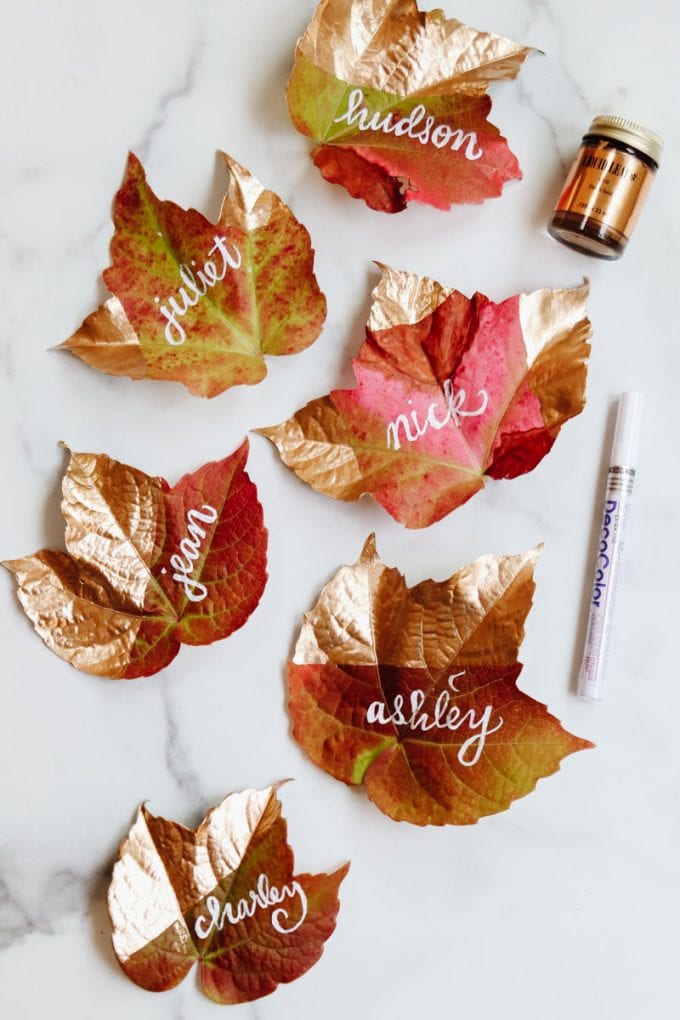
You can get as fancy as you want here. I am by no means an expert in this field. And if this part makes you a bit nervous, feel free to print the names however you like best.
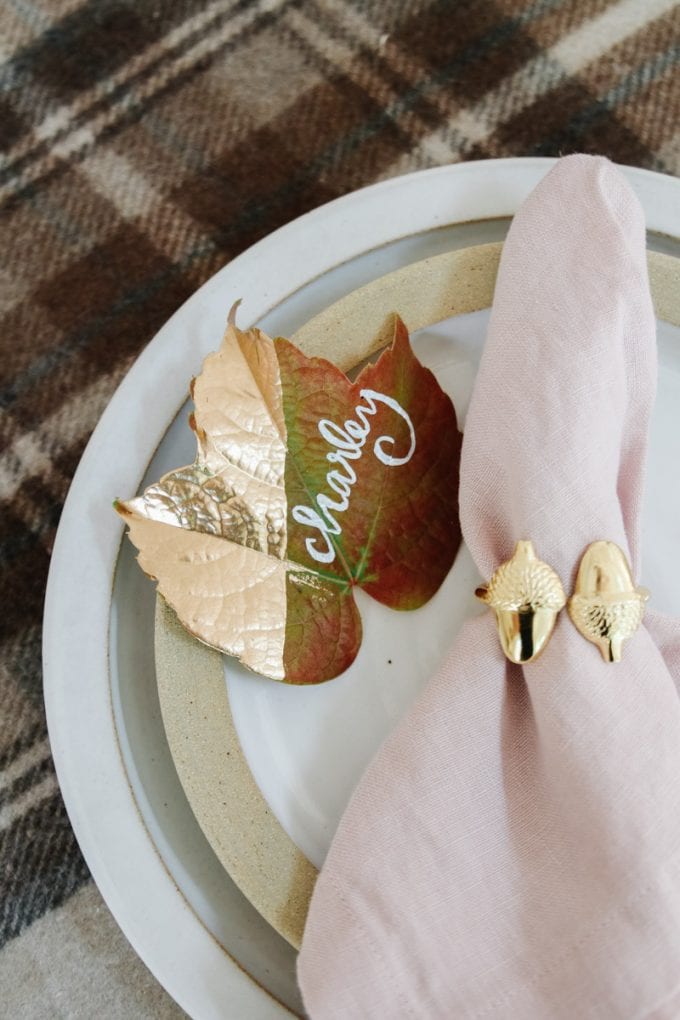
But, there are some great hand lettering resources out there that can help you create that trendy look.
Hand Lettering Resources
When I do hand lettering on projects, I look online for guides and ideas. You can either google Hand Lettering Alphabet or check out these resources for my edited selection.
Unique Hand Lettered Alphabet Ideas. This site has each letter of the alphabet written in 10 different styles. I like this if you are struggling with how to create a unique look.
Hand Lettering Practice Worksheets. A great way to practice your hand lettering before starting your place cards.
Basic Hand Lettering Alphabet Practice. Another great place to find each letter of the alphabet written out for your reference.
So, let me know if you make these fun gold dipped fall place cards.
13 Things To Make With Fall Leaves
Gold Dipped Leaf Place Cards – Modern Glam
How to Make a Paper Quilt Leaf – Happy Happy Nester
Fall Craft Ideas – Jennifer Maune
DIY Gilded Leaf Pumpkins – Tatertots & Jello
Watercolour Fall Leaf Free Printable Series – The Happy Housie

Fall Craft Ideas for Your Table – My 100 Year Old Home
Pressed Botanical Art – Craftberry Bush
Outdoor Fall Tablescape with Leaves – Hallstrom Home
Fall Wood Bead Garland – Lolly Jane

DIY Leaf Pillow – Thistlewood Farms
Dinner Rolls with a Cut Leaf Design – Twelve On Main
DIY Leaf Trivet – My Sweet Savannah
The Worst Project Made with Leaves Ever – Jennifer Rizzo
My Favorite Fall DIY Ideas
Here are a few of my favorite fall DIY ideas from the archives. I you liked these fall place cards, I think you might like these projects too!
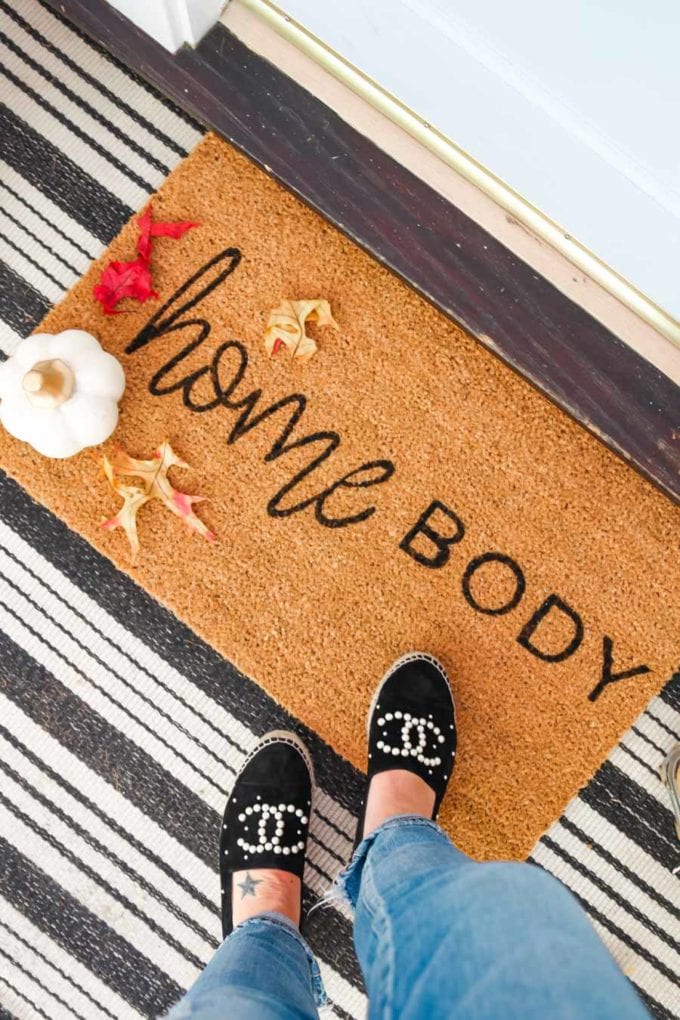
This DIY Doormat is a fun project you can make using a Silhouette or Cricut and a $10 doormat from Target!
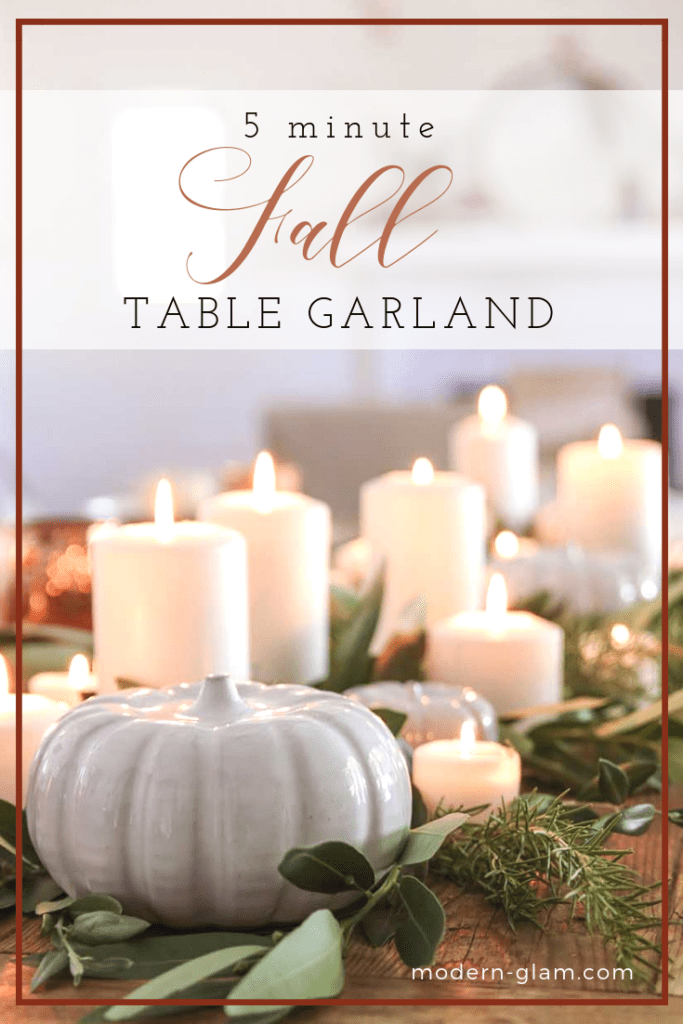
This 5 Minute Fall Table Garland is made using fresh herbs and cuttings from the yard. My Fall Place Cards would be beautiful with this centerpiece as well!
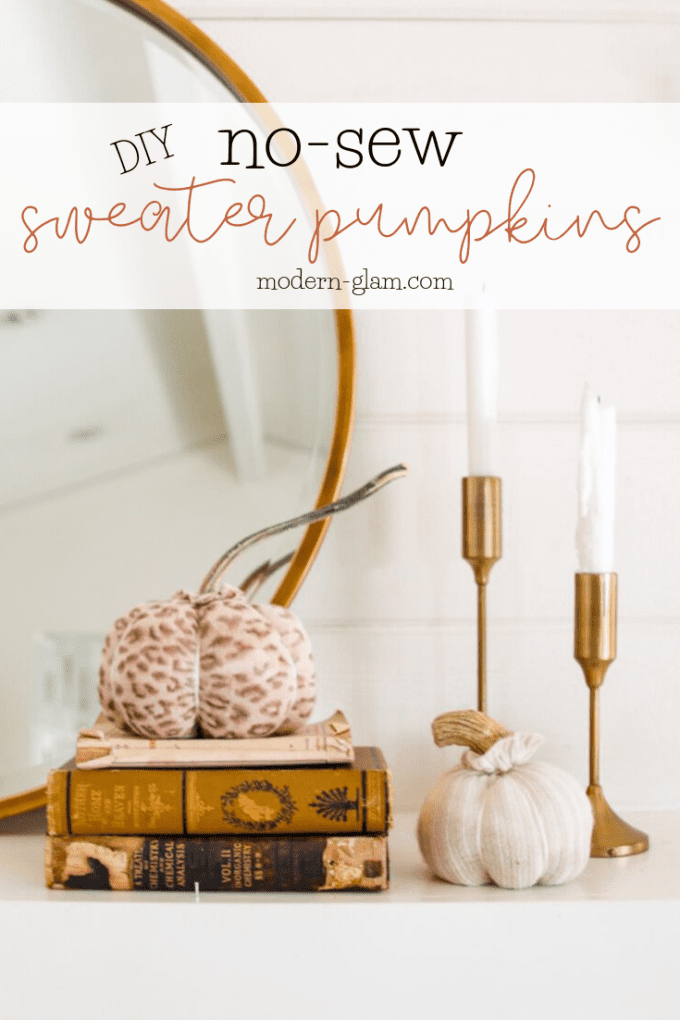
And these No-Sew Sweater Pumpkins are a fun way to up-cycle your old sweaters!
Save This Pin For Later
- DIY Painted Robins Eggs for Easter Decor - March 15, 2025
- Chocolate Bunny Cupcakes for Easter - March 12, 2025
- Easy Cinnamon Roll Bunnies With Orange Glaze - March 5, 2025




Shauna
These are fantastic, Ashley. Pinning so I remember to make them for Thanksgiving 🙂
KariAnne Wood
Love this friend! It’s the perfect addition to any fall table!
You have the best style!
KariAnne
Janine Waite
Ashley,
I love how your project came out! So elegant and pretty!
Jennifer Hadfield
It’s so cute! I want to make some for Thanksgiving. I pinned this to my Fall board 🙂
xoxo
Krista
These are so pretty, Ashley! What a brilliant idea!
Rhonda Hallstrom
This is such a cute Idea I’ll have to try it!
annie
What a lovely, delicate addition these will make to our special fall dinners. Thank you!
Susan
Hi, I love this idea. How far in advance can I do this? Wondering if the leaves will get too dry and crinkly if I do it too far in advance? Thanks for your thoughts on this.
ashley
I think you can do it a few days in advance. Probably depends on the type of leaf your using. I used our Boston Ivy and they dried up in a few days, but still looked beautiful!