Make your own custom DIY doormat for fall! I will show you how easy and fun it is to create your own personalized door mat for your fall front porch!
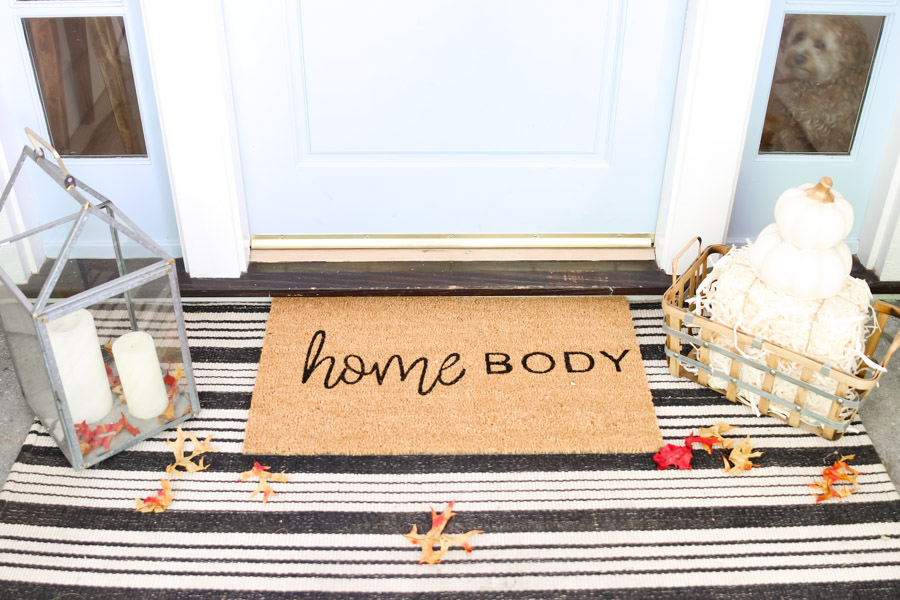
Have you ever wondered how to make those cute, custom doormats? I am so happy to share with you this DIY doormat tutorial today!
And be sure to visit my friends that I am joining up with to see their fabulous fall doormat ideas!
DIY Doormat for your Fall Porch
I don’t know about you, but fall is when I really like to go all out on my porch. I love to create a cozy, inviting vibe to my porch. Layer up the doormats and add some pumpkins and you’re halfway there!
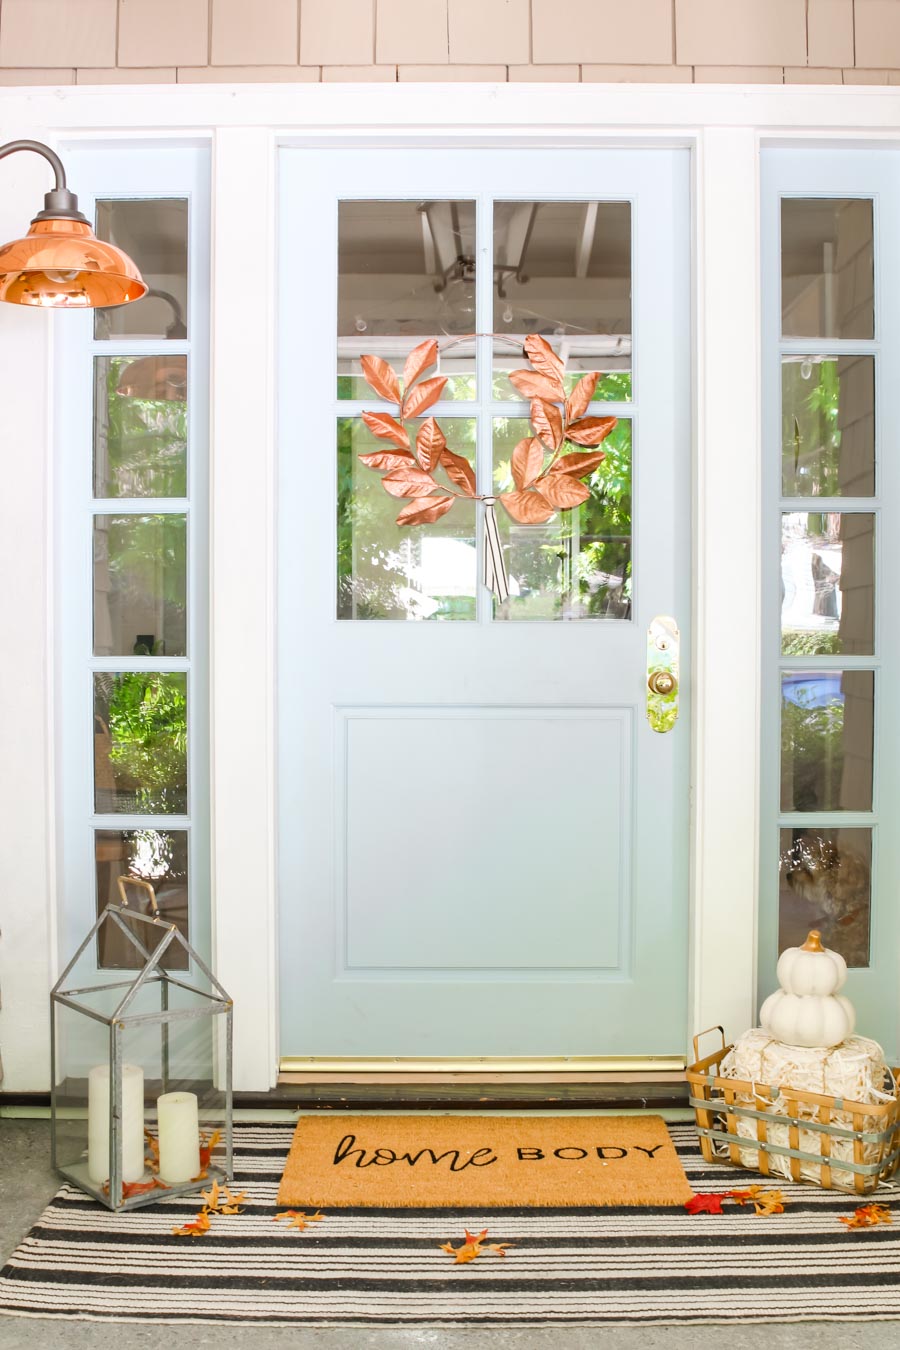
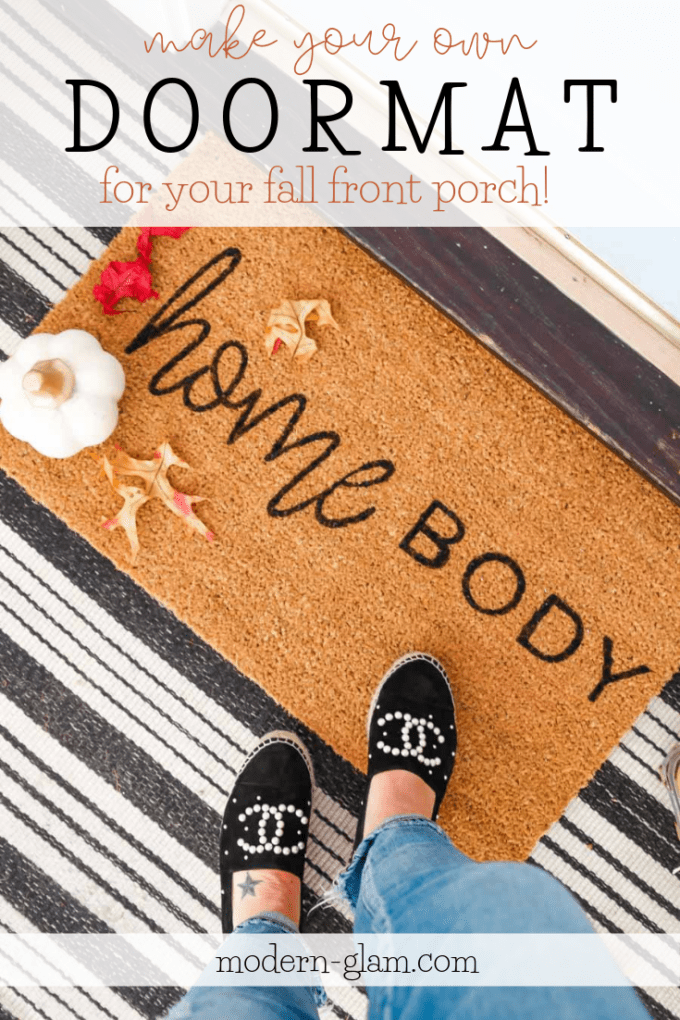
This year I created this fun DIY doormat that says Home Body. Because that’s what I turn into when the temps dips down. I love creating a cozy fall home and 90% of the time you can find me right here!
DIY Doormat with Silhouette
Last spring was the first time I tried making my own DIY doormat. I made my Cute Shoes Doormat and posted the full tutorial there.
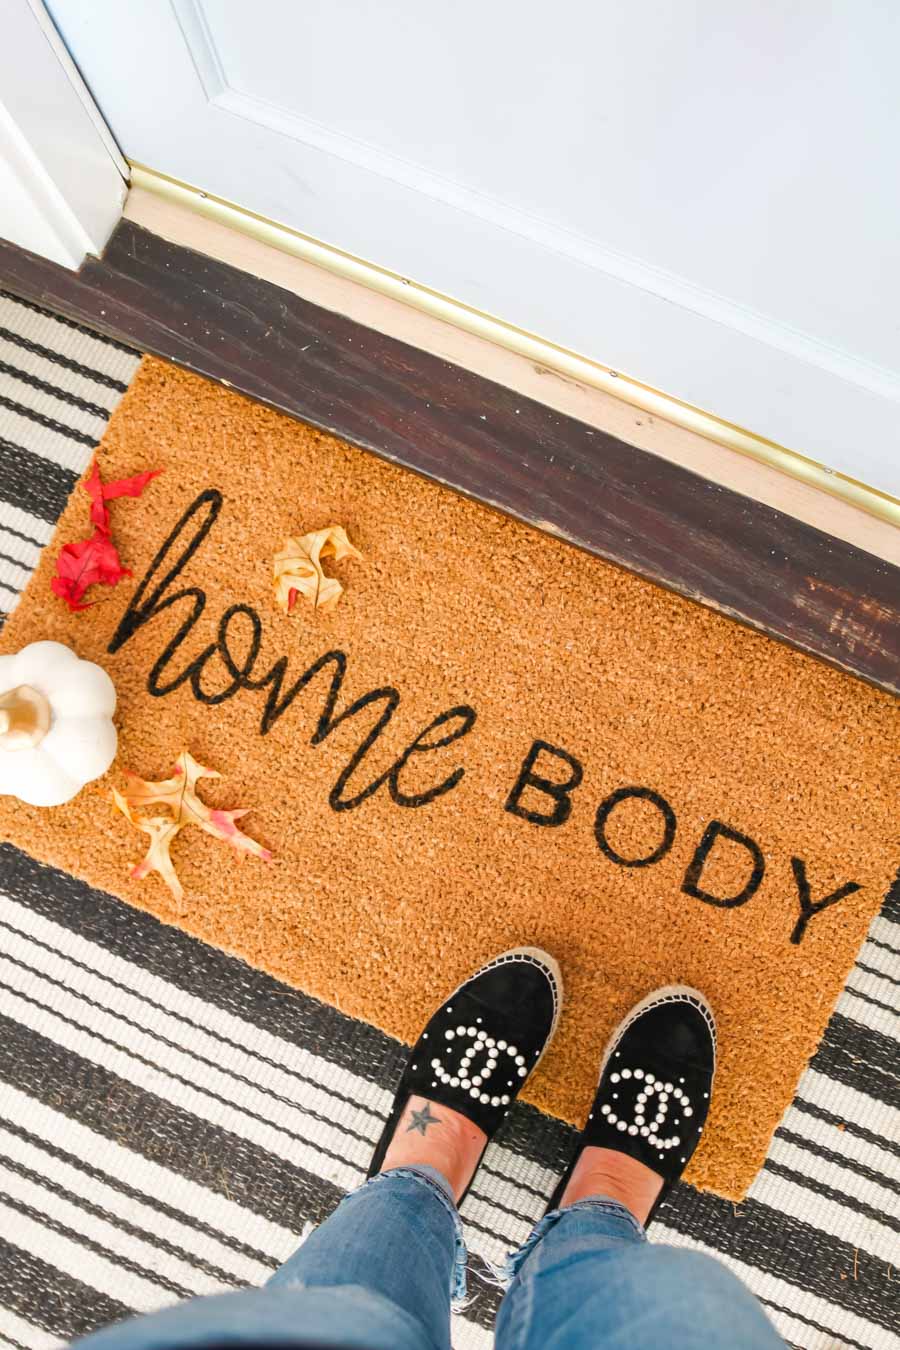
You can find all the detailed instructions for making your own Silhouette stencil for your custom DIY doormat there.
And be sure to grab my Silhouette file for the homeBODY doormat at the bottom of this post. This will save you so much time!
Stenciled Doormat Supplies

In order to make your own custom stenciled doormat, you will need the following supplies:
- Silhouette CAMEO cutting machine (If you don’t have a Silhouette Cameo, check out the latest deals here)
- sponge brushes
- small paintbrush
- black acrylic craft paint
- plain coir doormat (mine is from Target)
- Silhouette vinyl roll in any color
How To Make a custom doormat

Once you have all your supplies gathered, you will want to create your stencil for your DIY doormat with your Silhouette. Find the full instructions HERE.
Or grab my free Silhouette file for this homebody doormat below!

After you have your stencil made, you will next paint your doormat.
Carefully peel off the backing of the stencil leaving the text outline. This is what will be your stencil. The great thing about cutting the stencil out of vinyl is that it will naturally stick to your doormat to make painting much easier!
Place the vinyl cutout on your doormat. If there are any middle parts of the letters (like the middle section of the letter O), make sure you grab those off the vinyl backing and place onto your doormat as well.

Once the stencil is in place, start dabbing on the paint. Use up and down motions to keep bleeding minimized. By using a sponge pouncer brush, you can create crisp, clean lines.
After you have 2 coats of paint done, carefully peel off your stencil. And touch up any lines or letters with a smaller paintbrush.
DIY Doormat Silhouette File
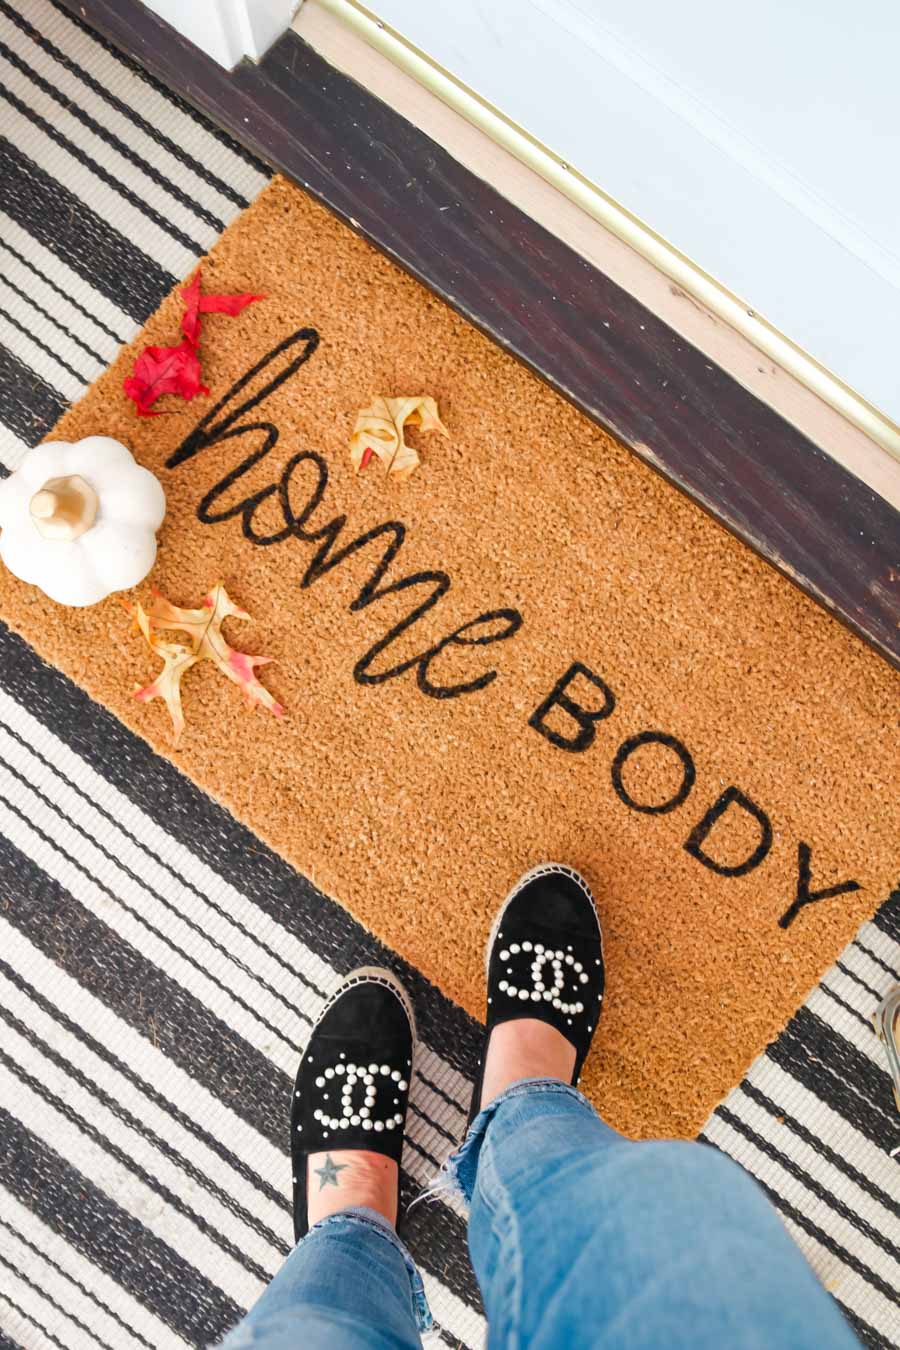
I have created this Silhouette file for my homeBODY doormat that is formatted for a 1’6″ x 2’6″ solid coir doormat from Target. Click HERE to download the file. You can then upload it into your Silhouette program!
More DIY Doormat Ideas

Cute Doormat | Happy Happy Nester
Drop Cloth Doormat | Twelve on Main

Easy Fall Stenciled Doormat | Tatertots & Jello
DIY Fall Doormat | Your Marketing BFF
DIY Fall Stenciled Doormat | Lolly Jane
Layered Fall Doormats | Inspiration for Moms

DIY Fall Doormat from a Shower Curtain | The DIY Mommy
How To Layer Doormats | My Sweet Savannah
Welcome Mat Ideas | Pink Peppermint Designs
Fall Doormat Ideas
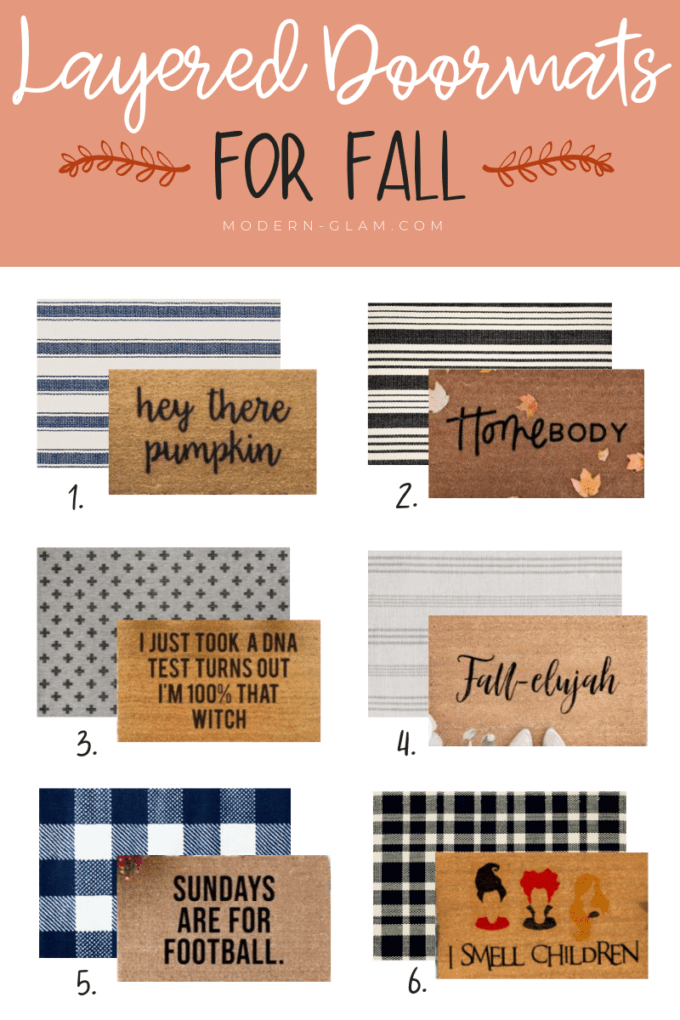
And if you are looking to create a cute and fun fall porch, be sure to check out my Layered Doormat and Rug Ideas for Fall post. It’s time to get creative!

- DIY Painted Robins Eggs for Easter Decor - March 15, 2025
- Chocolate Bunny Cupcakes for Easter - March 12, 2025
- Easy Cinnamon Roll Bunnies With Orange Glaze - March 5, 2025



[…] DIY Doormat | Modern Glam […]