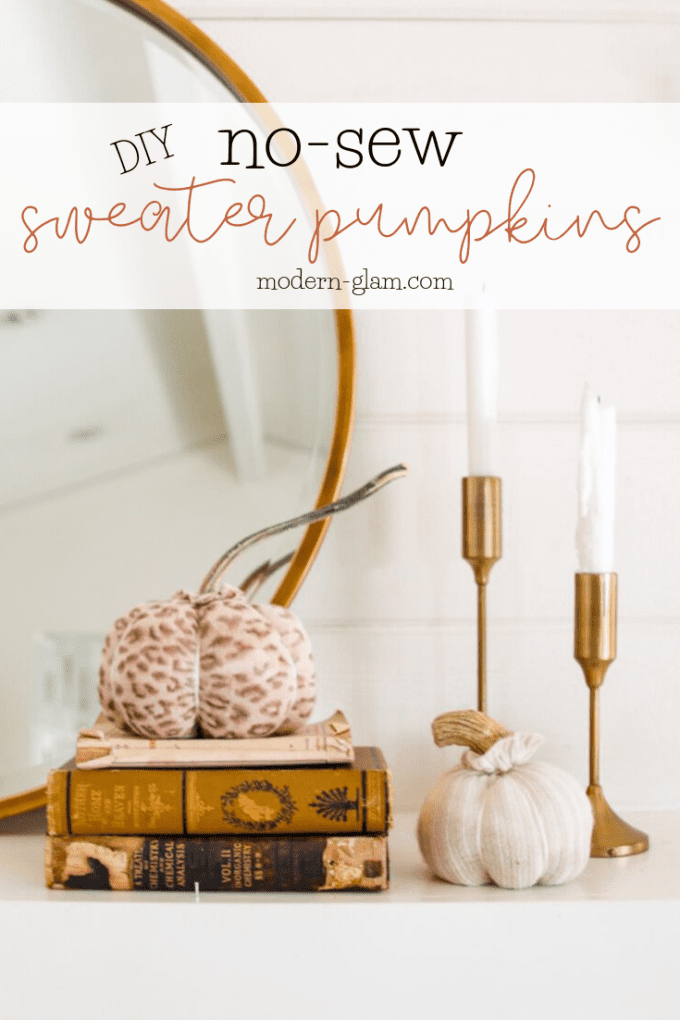
This easy tutorial shows you how to make DIY sweater pumpkins to add to your fall decor! Upcycle old sweaters into these cute no-sew fabric pumpkins!

Plus, be sure to check out all the other fun DIY projects linked at the bottom of this post. So many fun fall craft ideas!
DIY Sweater Pumpkins
If you’re anything like me, you have a few sweaters that you have been hanging on to for far too long. They are worn out, stained or have a few snags or holes in them. But, you love the pattern or texture and can’t bear to part with them!
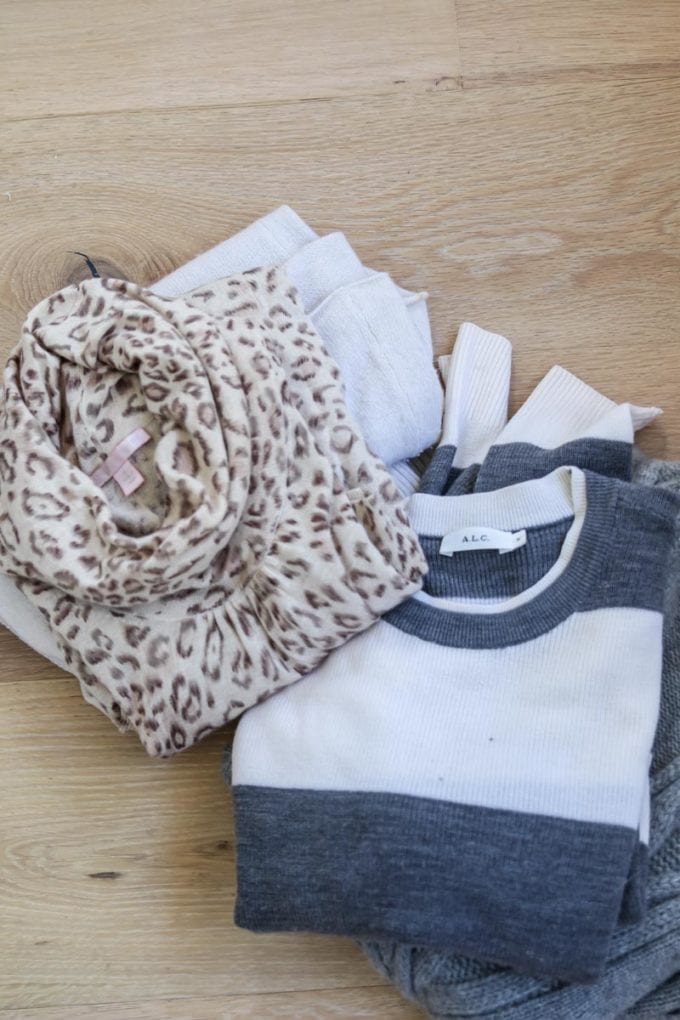
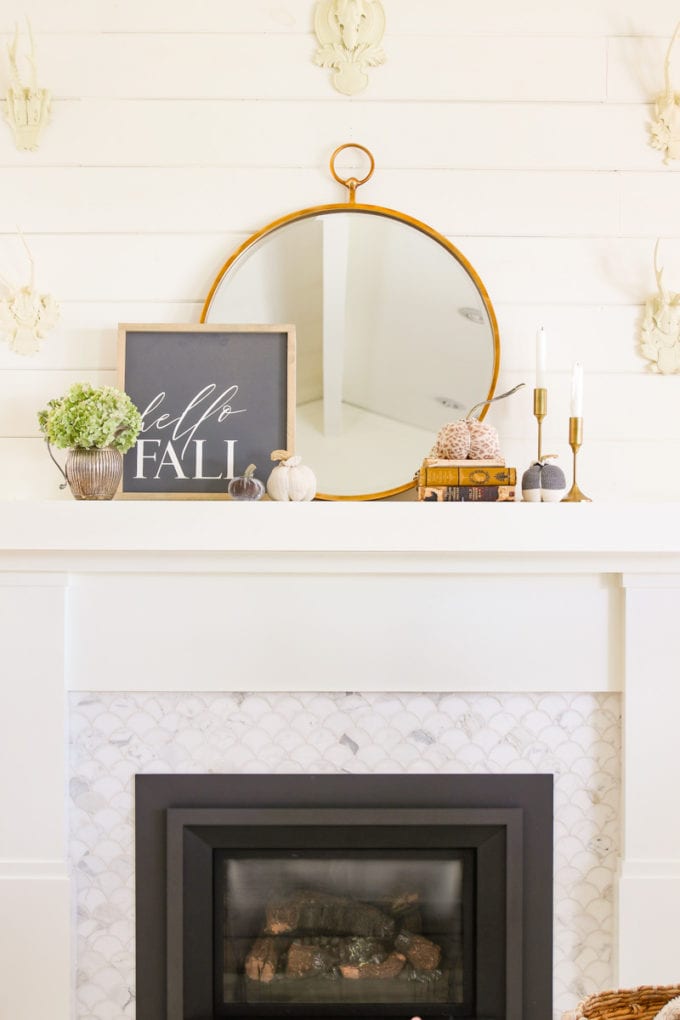
This leopard sweater has been around longer than my kids! I have held onto it despite a few snags and the style being outdated. And leopard is such a huge trend right now in fashion and home decor. I knew it would be perfect for this DIY sweater pumpkin project!
Easy No-Sew Fabric Pumpkins
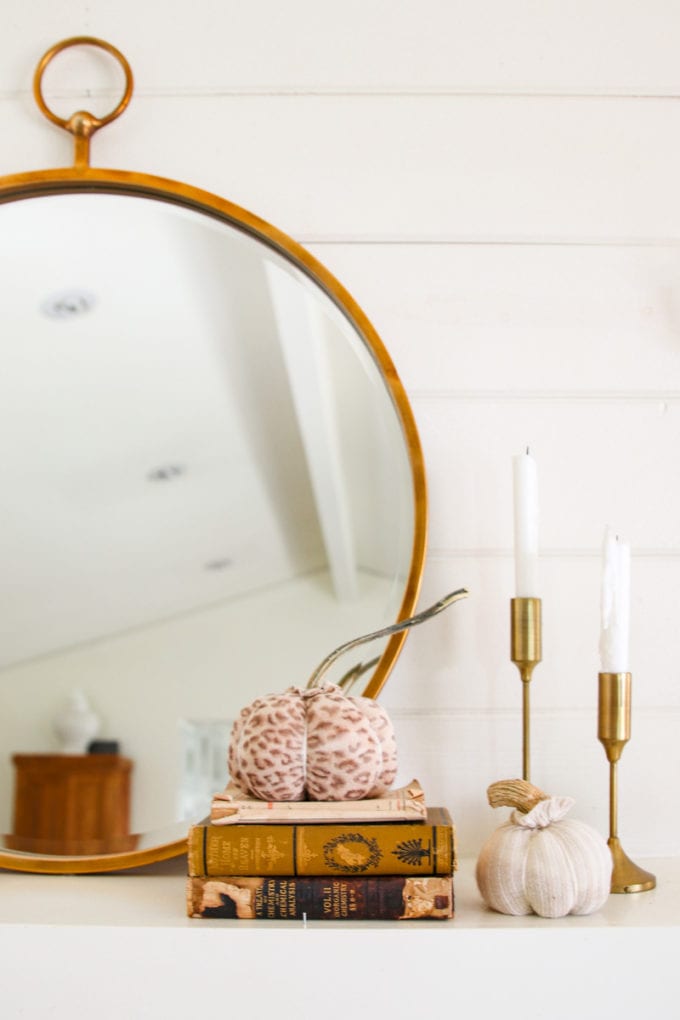
The best part about these no-sew fabric pumpkins is that you can make them with items you already have on hand. No trip to the craft store necessary.
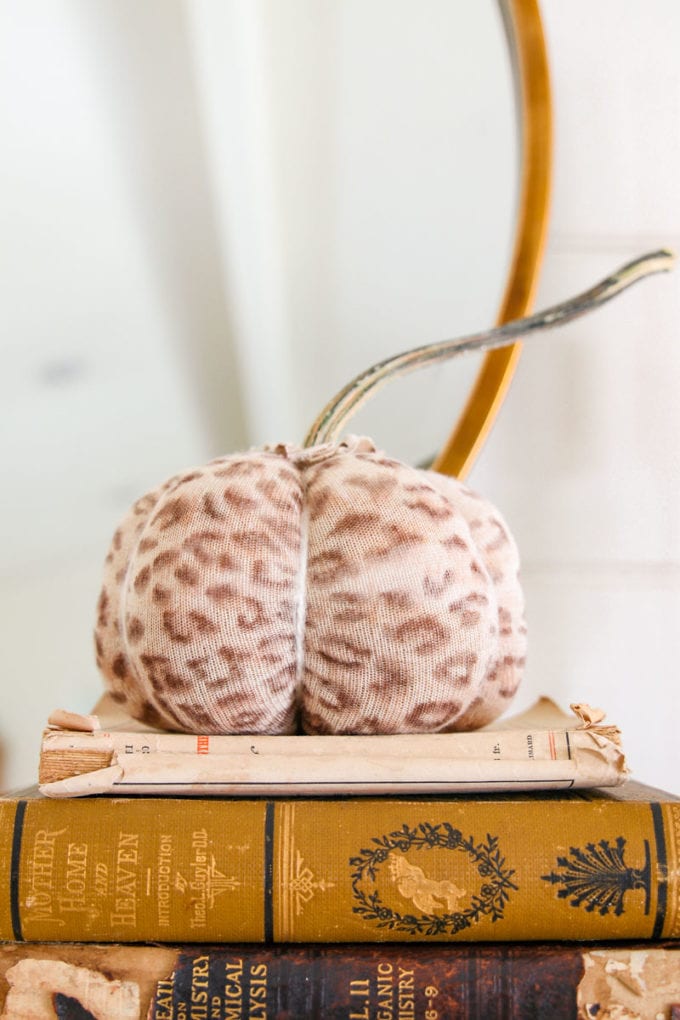
If you don’t have any old sweaters on hand that you want to use for these DIY sweater pumpkins, don’t worry! Head to a second hand store and find some sweaters or sweatshirts that would be perfect for this project.
How To Make Pumpkins from Sweater Sleeves
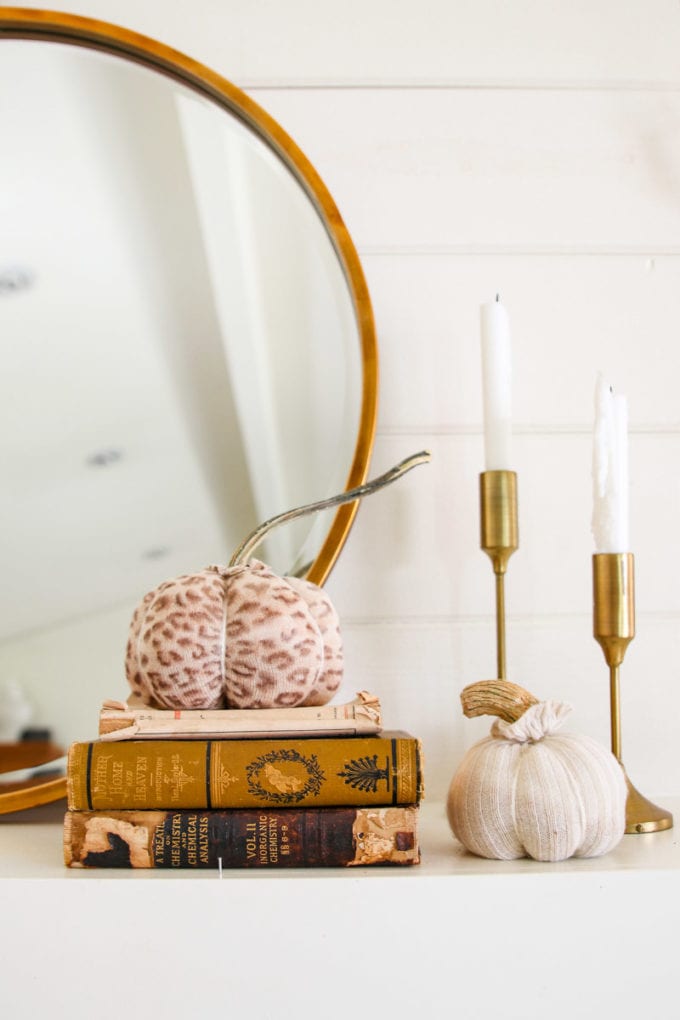
Making these no-sew fabric pumpkins is easier than you would think! There are no fancy supplies and no sewing involved!
DIY Sweater Pumpkins Supplies
- Old sweater sleeves
- Rice
- Poly fill batting (I used the stuffing from an old pillow)
- String, yarn or burlap to tie around the pumpkin
- Pumpkin stems
- Scissors
- Hot glue gun
DIY Sweater Pumpkin Instructions
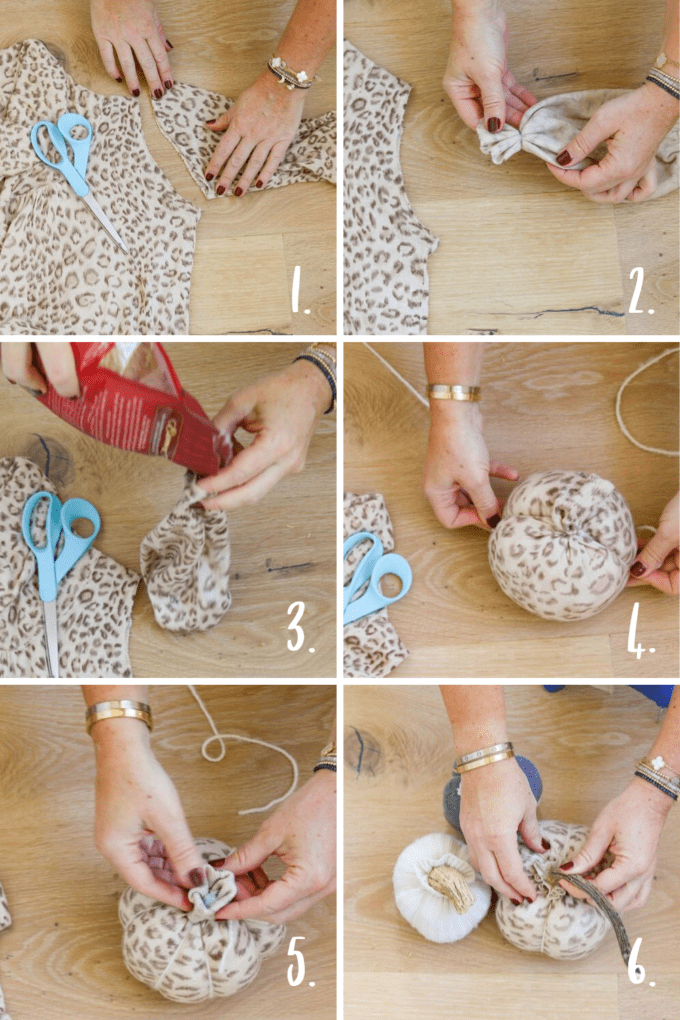
Step 1.
First you want to cut off the sleeve of your sweater. And depending on the size of the pumpkins, cut any additional length needed. I only used half the sleeve length for my DIY sweater pumpkins.
Step 2.
Next, turn the sleeve inside out and tie a rubber band around the cut end.
Step 3.
Now, turn the fabric right side out and fill with some rice. I used about 1 cup of rice for each sweater pumpkin. Fill the remainder with poly fill stuffing. Then tie the top of the pumpkin with another rubber band.
Step 4.
Next, take some yarn or string and wrap around the pumpkin to create the ridges. Pull tight to create a more puffy looking DIY sweater pumpkin.
Step 5.
Secure the string by tying a knot around the top of the pumpkin where the rubber band is.
Step 6.
Finally, using a hot glue gun, glue on a stem to the top of the pumpkin, inside the fabric cuff. I used real pumpkin stems, but you could also use tree branches or cut wood slices.
More Fall DIY Project Ideas
Check out what my friends made for this fun fall DIY blog hop! Plaid, flannel and sweater DIY ideas.

Painted Pumpkin Ideas // My 100 Year Old Home
Scented Flannel Pumpkins // Finding Lovely
Sweater Pillow Pom Poms // Tatertots & Jello
No-Sew Sweater Flower Pots // The Tattered Pew
DIY Halloween Pillows // Taryn Whitaker Designs

DIY Halloween Decor // Happy Happy Nester
DIY Sweater Pumpkins // Modern Glam
No-Sew Flannel Throw Blanket // Ella Claire
Sweater Flannel Pumpkins // Lolly Jane
No-Bake Mini Pies // My Sweet Savannah
If you liked this fall project, be sure to check out these other ideas

- DIY Painted Robins Eggs for Easter Decor - March 15, 2025
- Chocolate Bunny Cupcakes for Easter - March 12, 2025
- Easy Cinnamon Roll Bunnies With Orange Glaze - March 5, 2025





Lolly Jane
Never would have thought of that print and LOVE IT!!
Jean
They turned out great! May I have a leopard sleeve? Those old books look interesting too!
Taryn Whiteaker
These are so cute! You did a great job on keeping everything so chic and classy. I love it.
Renae
Those are adorable! What happens when the rubber band eventually gets old and rots?
ashley
You could replace it or use a string instead.